-->

misc productivity, pomodoro, time_management

The Pomodoro Technique is a time management method developed by Francesco Cirillo in the late 1980s. The technique uses a timer to break down work into intervals, traditionally 25 minutes in length, separated by short breaks. These intervals are known as “Pomodoros” or “Pomodori”. The idea is to use the time management technique to break down work into manageable chunks, reduce the impact of interruptions, and increase focus. The technique has been widely popularized by productivity experts and has been used to improve time management in various fields.

How does it work?

The Pomodoro Technique breaks down work sessions into 25-minute intervals. Each interval is called a Pomodoro. During each Pomodoro, the user focuses on a specific task for 25 minutes without interruption. After each Pomodoro, the user takes a short break, usually 3-5 minutes, before starting the next Pomodoro. After four Pomodoros, the user takes a longer break, usually 15-30 minutes.

The technique is based on the idea that frequent breaks can improve mental agility and that shorter intervals of focused work make it easier to maintain concentration and avoid burnout. The technique is flexible and can be customized to fit an individual’s needs. Some people prefer longer work intervals or shorter breaks.

The Pomodoro Technique can be used for any task that requires concentration, and it’s often used to improve productivity in work, studying or personal projects. The technique can also be used to track progress and measure productivity, as the number of Pomodoros completed in a day can be used as an indicator of how much work has been done.

Standard Workflow for Pomodoro Technique

Tasks

The Pomodoro Technique has a few basic rules that are followed to ensure the technique is used effectively:

  1. Decide on the task to be done: Before starting a Pomodoro, decide on the task you want to accomplish. This can be anything from studying for an exam to writing a report.

  2. Set the timer: Set the timer for 25 minutes, which is the standard Pomodoro duration.

  3. Work on the task: Once the timer starts, focus on it and work on it for 25 minutes. Avoid interruptions and distractions as much as possible. If you get interrupted

  4. Take a short break: After the 25 minutes are up, take a short break, typically 3-5 minutes, to rest and recharge.

  5. Repeat: Repeat the process for four Pomodoros, then take a longer break, typically 15-30 minutes.

  6. Track your progress: Keep track of the number of Pomodoros you complete daily. This can help you measure your productivity and set goals for yourself.

  7. Flexibility: The technique is flexible; you can adjust the duration of the Pomodoro and break according to your preference.

  8. No multitasking: The Pomodoro Technique is not designed for multitasking. You should focus on one task at a time and avoid distractions.

It’s important to note that these rules can be adapted to suit your specific needs and preferences, and it may take a bit of trial and error to find the right system that works for you.

Voiding a Pomodoro

There are a few situations when it may be appropriate to void a Pomodoro:

  1. Interruptions: If you are interrupted during a Pomodoro, you may need to void it and start a new one. This could be due to a phone call, an email, or an unexpected visitor.

  2. Distractions: If you become too easily distracted during a Pomodoro, it may be best to void it and start again.

  3. Unforeseen events: If something unexpected happens that makes it impossible to continue working, you may need to void the Pomodoro and start a new one.

  4. Unclear Task: If you find yourself working on a task that is not clear or you are not sure what you should be doing, it is best to void the Pomodoro and clarify the task before proceeding.

  5. Change in Priority: If something more important comes up, it may be necessary to void the current Pomodoro and start working on the new task.

It’s also important to note that it’s not necessary to void a Pomodoro every time something goes wrong. Sometimes, it’s better to push through and continue working, even if you’re not making as much progress as you would like. It’s all about finding the right balance for you.

How many Pomodoros to complete?

The number of Pomodoros you should finish in a day depends on your specific goals and the tasks you need to accomplish. It can vary depending on the complexity of the tasks, the amount of time you have available, and your personal productivity levels.

A general guideline is to aim for at least 4 Pomodoros per day. This can be seen as a minimum target, which you can adjust according to your needs. Some people may find that they can complete more than 4 Pomodoros per day, while others may find that 4 is the maximum they can handle.

It’s important to remember that the Pomodoro Technique is not about completing a certain number of Pomodoros but rather about using the technique to improve your focus and productivity. If you find that you’re not making progress or that you’re feeling overwhelmed, it may be better to take a break or adjust your goals.

Also, it’s important to track your progress, so you can evaluate your performance over time and adjust your Pomodoro target accordingly.

In summary, the number of Pomodoros you should finish daily depends on your specific goals, the tasks you need to accomplish, and your personal productivity levels. It’s important to find the balance that works best for you and to track your progress over time.

The drawbacks

The Pomodoro Technique is a popular time management method, but it does have some drawbacks:

  1. Inflexibility: Some people may find the 25-minute intervals too restrictive and not work well with their work or study habits. Additionally, the technique may not be suitable for tasks that require deep focus and concentration, which may require longer work intervals.

  2. Difficulty in maintaining focus: Staying focused for 25-minute intervals can be challenging for some people, and it may be difficult to maintain concentration for the entire time period.

  3. Limited applicability: The Pomodoro Technique may not be suitable for all types of tasks or work environments. For example, it may not be appropriate for tasks that require constant attention or for jobs that involve frequent interruptions.

  4. Doesn’t account for the nature of work: The Pomodoro Technique is based on the idea that all tasks are of equal importance and can be broken down into small chunks, but this is not always the case; some tasks require more time and attention than others.

  5. Doesn’t consider the context: Some people may find it difficult to use the Pomodoro Technique in an open office environment, as it can be challenging to work in 25-minute blocks while surrounded by distractions.

  6. Over-Reliance: Some people may become overly reliant on the Pomodoro Technique and find it difficult to work without a timer.

It’s important to remember that the Pomodoro Technique is just one of many time management methods, and it may not be the best fit for everyone. It’s important to find a method that works best for you and your specific needs.

Conclusion

The Pomodoro Technique is a very popular time-management technique. There are lots of tools and timers that you can use to log and improve your performance. Overall, the Pomodoro Technique can be a useful tool for managing time and increasing productivity. In this article, we tried to review how it works and the pros and cons of the technique. Still, it’s not the only one, and it’s not suitable for every task or every person. It’s important to find the time management method that works best for you and your specific needs.
hobby synology, nas, komga, homelab, comics

I’m a long time comic book fan and with a new Synology and iPad Pro I thought it is the right time to set up my own comic book server.

There are many different options for having your own ebook/comic book server in your homelab but my configuration will be as follows:

  • Server hardware: Synology DS1821+
  • Server software: Komga (as a Docker container)
  • Client software: Panels

Getting Started

In the previous post, you learned the basics of running a Docker container on Synology NAS. In this article, we will take it a bit further and will create a container “project” in the Container Manager package (which corresponds to Docker Compose YAML file) and will use persistent data.

To get going, first log in to your Synology DSM and open the Container Manager.

Switch to Project tab and click the Create button.

In Project name field, enter komga

In Path section, click Set Path button and create new folder under docker shared folder named komga or whatever you like to indicate that’s it’s your comic book server.

In the Source section, select Create docker-compose.yaml.

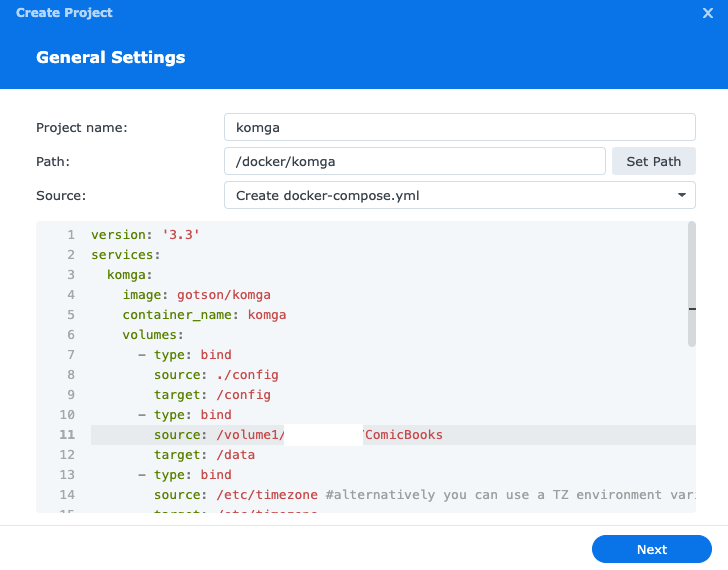
In the textarea, paste the following code:

---
version: '3.3'
services:
  komga:
    image: gotson/komga
    container_name: komga
    volumes:
      - type: bind
        source: ./config
        target: /config
      - type: bind
        source: ./data
        target: /data
    ports:
      - 25600:25600
    restart: unless-stopped

As you can see the paths are placeholders. First, open a File Station instance on the Synology DSM and create 2 folders under /docker/komga called config and data.

Alternatively, you can choose another path on your Synology and use that path. If you do that you will need to update the paths in your YAML configuration as well. The above snippet assumes compose.yaml will be stored under /docker/komga and the config and data folders will be subfolders on the same level.

Your configuration should look like this:

Docker project setup

Click Next.

In Web portal settings, enable port and update if you want to serve your content on a different port.

If you get a prompt saying you have to install Webstation, click Install.

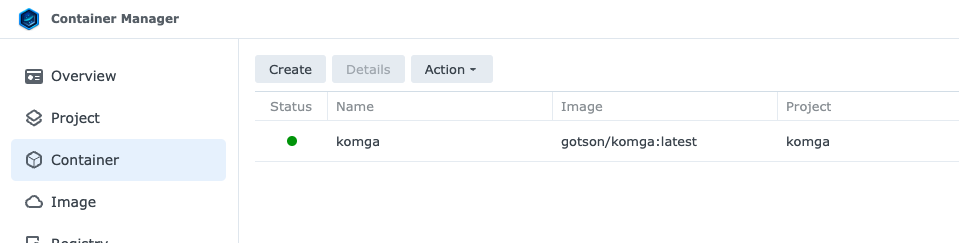
Once you’ve created your project and it’s running you should see the container with a green status:

Komga container in running status

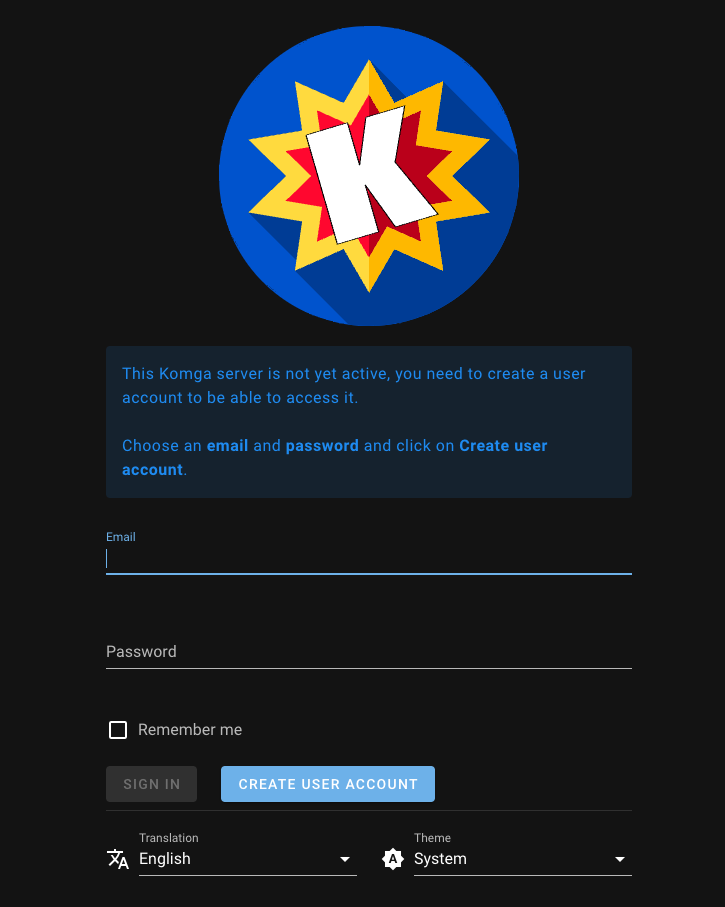
Now you can visit your NAS local IP at port 25600 and you should see the default Komga login page:

Komga login page

As the message explains, you now need to create your admin user.

Enter an email address and password to create your account and click Create User Account.

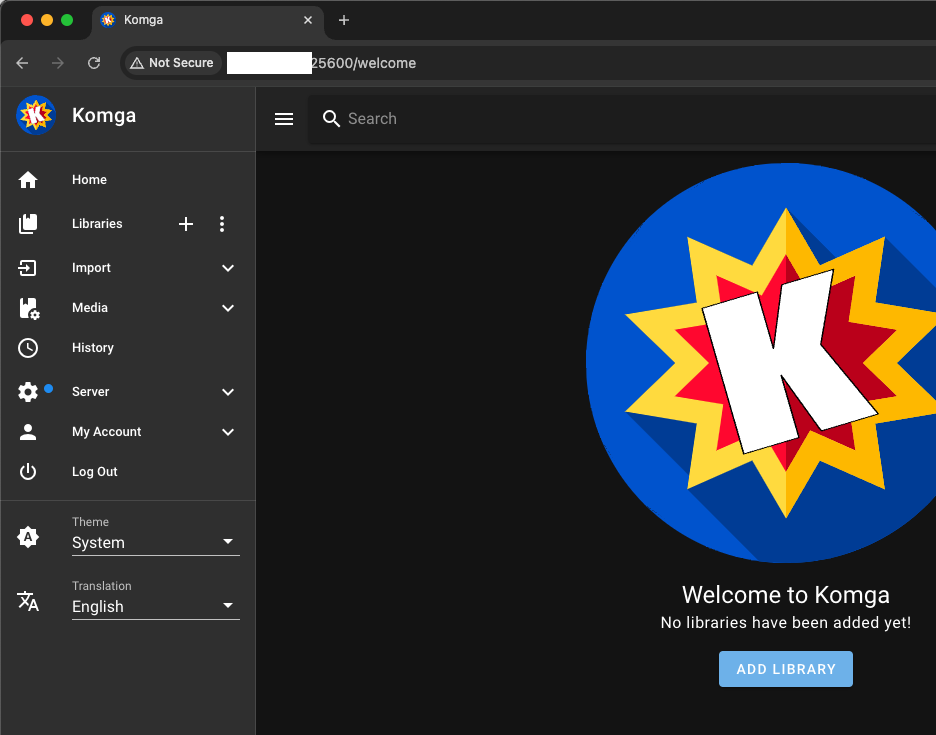
You should now see the dashboard:

Komga dashboard

Before you create your first library, createa folder called at /data/free. If you mapped your data folder to somewhere else, use that path.

Now create your first library called Free. This will be used to test your setup and will contain a free comic book that you’ll download. As Root Folder, enter /data/free.

Click Next in the following sections and create the library.

Now you need to add some comic books to your library. There are lots of free comics available on the Internet. For this demo, go to archive.org and search free comic book cbz

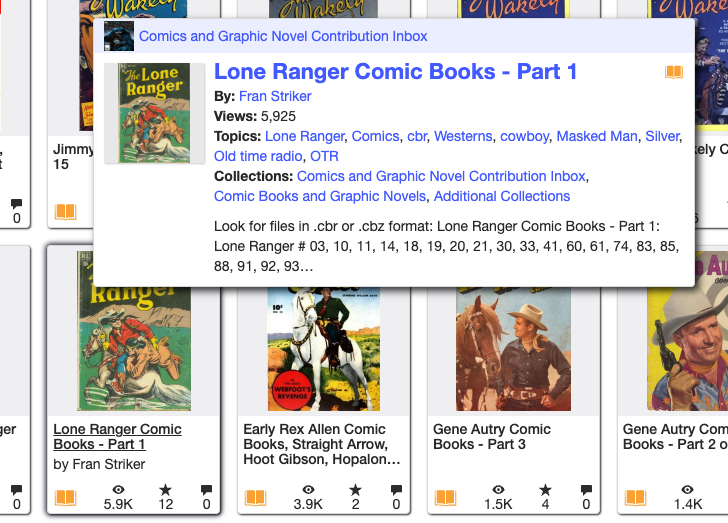
You can see below there are lots of options to download:

Free comics

Now upload the downloaded file to your synology and click Scan library files (which is the first item on the context menu next to the library name)

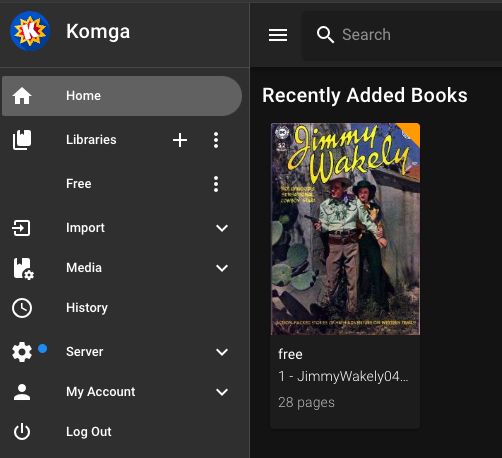
You should now be able to see your new comic book on your server:

Free comic book added to the library

Client Setup

You can click on your comic book on the web browser and read it that way. If that’s good enough for you, then you’re done. If you want more complicated readers, I recommend using Panels on iOS devices. It has free and paid options. I bough a lifetime subscription and quite happy with that.

To connect to your own Komga server from Panels, click menu and choose Connect Service. In the dialog, select OPDS.

In OPDS Configuraiton, add an Alias such as Komga on Synology

Enter the IP address, port, username and password and click Apply.

On the Import Services section you should see the newly added OPDS server. Click on that item.

Click Latest books and you should see your comic book listed.

Tap on the book and click Import

Choose a local library on your Panels app and click Add to Library. Once downloaded, click On My iPad and you should see the comicbook. This way now you can quickly browse your comic book library on your own server and read as you please.

## Summary In this article, you learned how to install a Komga server on a Synology NAS. You configured it and uploaded your first comic book. Then you configured the client iOS app and downloaded the comic which is now ready for your consumption. Enojy!

Resources

docker synology, nas

As a big fan of Raspberry Pis, I have been running multiple Pis with multiple Docker containers. They can serve a lot of different purposes for your home lab. The problem is you have to make sure you backup your data frequently. You can use a NAS as your backup system but what’s even better is to utilize the compute power of your Synology NAS and run your Docker containers directly on the NAS. This way you can have built-in redundancy assuming you did set up redundancy with your NAS which is generally the common goal.

Getting Started

To run Docker containers on your Synology NAS, you need to install a package called Container Manager. You can check if your Synology is compatabile with this package on his page: Container Manager compatability

In this tutorial, I’ll be using a Synology DS1821+ model.

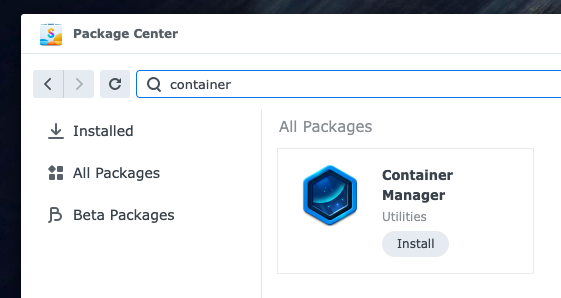
Open Package Center, and search for “container”.

Search results for container in the package center

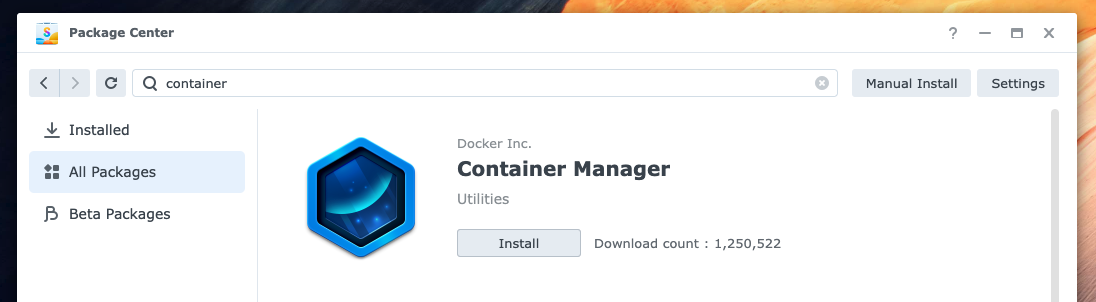
Click Install on Container Manager package or you can click on somewhere else on the box to read the details of the package. Then you can click Install on that page too.

Container manager package details

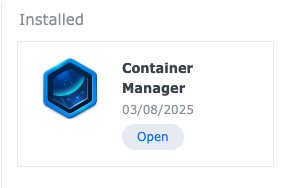
Once installed, click Open to see the details

Container manager installed

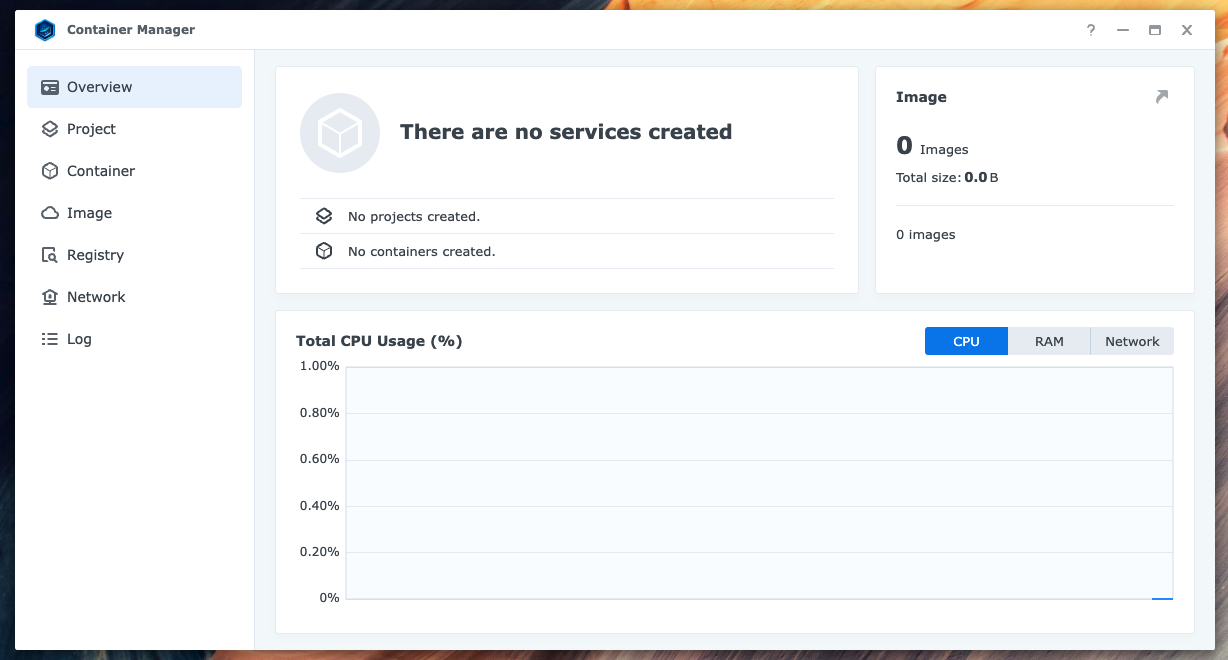
You can now that the Container Manager is ready to use:

Container manager ready to use

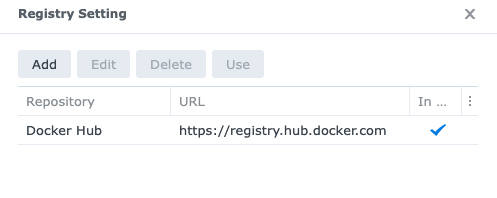
## Running Containers To run a container off of a Docker image, first you need to pull the image from a Docker registry. By default, the container manager uses DockerHub as its Docker registry but you can sutomize it by clicking Registry –> Settings.

Docker registry settings

Here you can add other registries from other providers.

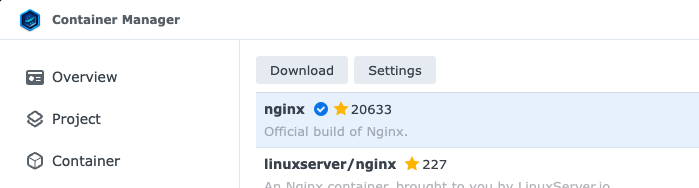
To test your setup, click on nginx package and click Download.

nginx on container manager

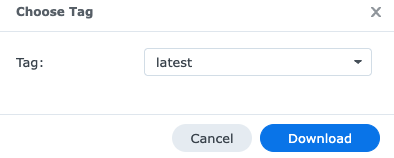
When asked to choose a tag, accept the default which is “latest” and click Download again.

Choose tag dialog

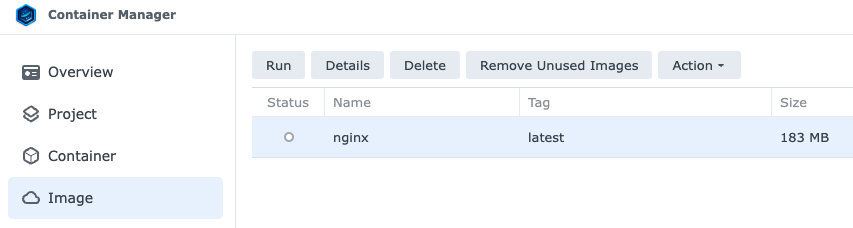
Once the image is downloaded, you can see it in the Image section

Image details

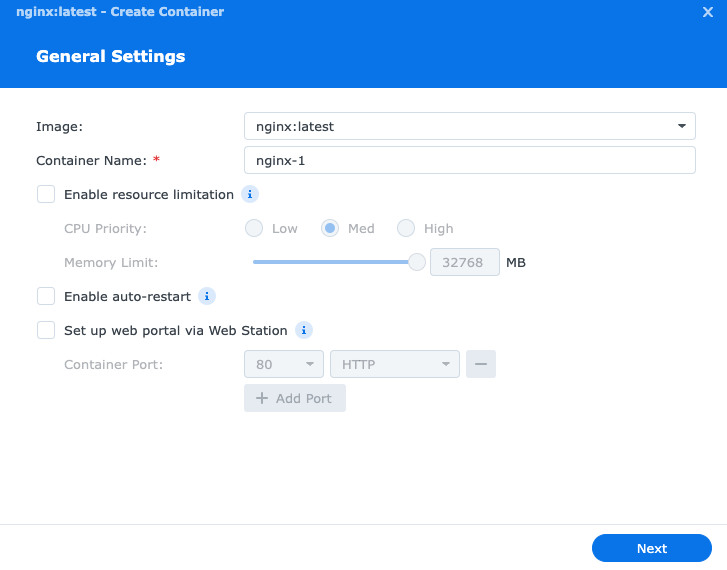
Click Run button. You should a settings dialog window. Here you can customize the resouce allocation of your container.

General settings while running a container

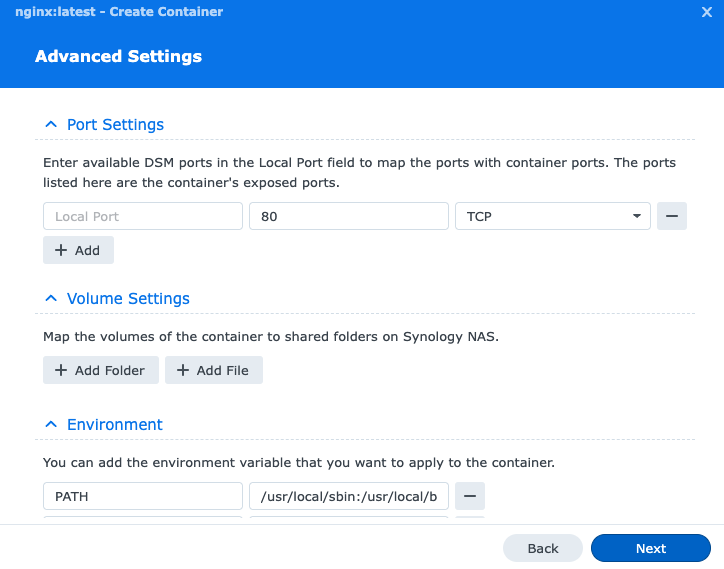
Click Next and you will be presented with the Advanced Settings such as port mapping, environment variables etc.

Advanced settings while running a container

Here enter a local port to be able to access your web server. In this example, I will use port 6500 to access the nginx on this container.

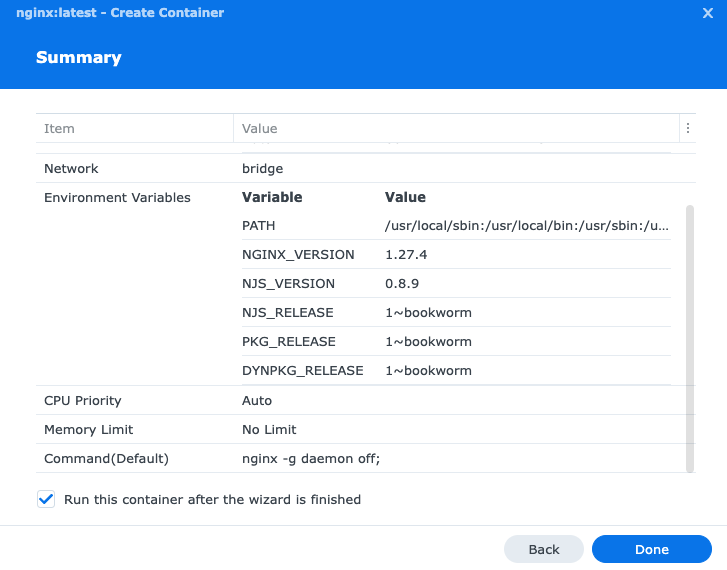
Click Next again, review the Summary and click Done.

Container settings summary

You can now view your container by switching to the container tab.

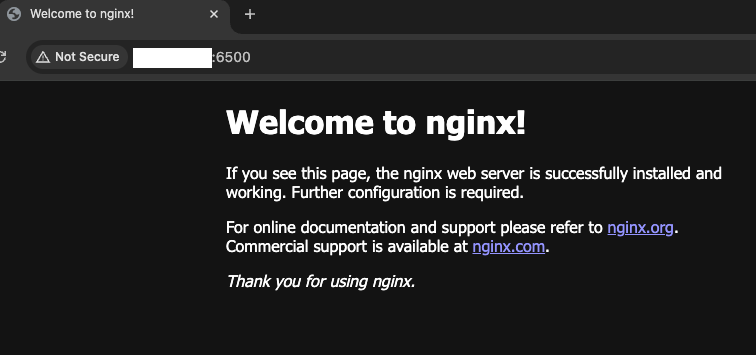
You view your new Nginx server running on your Synology NAS at port 6500, simply go to your NAS address followed by :6500 to indicate the port and you should see it in action:

nginx running on port-6500

Summary

In this beginners tutorial, you learned how to install the Container Manager package on your Synology NAS and ran your first container. In the upcoming articles, we will cover running Docker containers in more depth with more real-life examples.

Resources