
Send Emails with C#, Handlebars Templating, and Dynamic Email Templates
This article was originally published on the Twilio Blog.
Email communication is an essential aspect of most businesses. In this post, you will look into the basics of sending emails with the Twilio SendGrid Email API and sending templated emails with the Handlebars templating language. Finally, you will finish by putting it together in a sample project that sends emails based on a template.
Prerequisites
You’ll need the following things for this tutorial:
-
A free Twilio SendGrid account. Sign up for a SendGrid account here to send up to 100 emails per day completely free of charge
-
An OS that supports .NET (Windows/macOS/Linux)
-
A code editor or IDE (Recommended: Visual Studio Code with the C# plugin, Visual Studio, or JetBrains Rider)
Set Up SendGrid
API Key
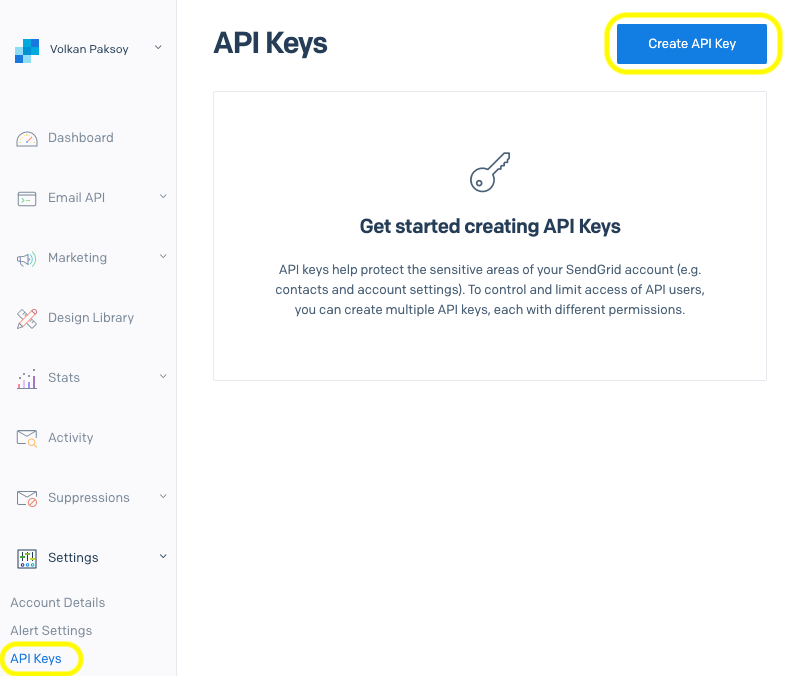
First things first: To use the SendGrid API, you need an API key. Create one by heading over to the SendGrid dashboard and clicking on Settings → API Keys on the left menu and clicking the “Create API Key” button in the top-right corner:
Next, give your key a name and select the permissions. You can choose Restricted Access to pick individual permissions.
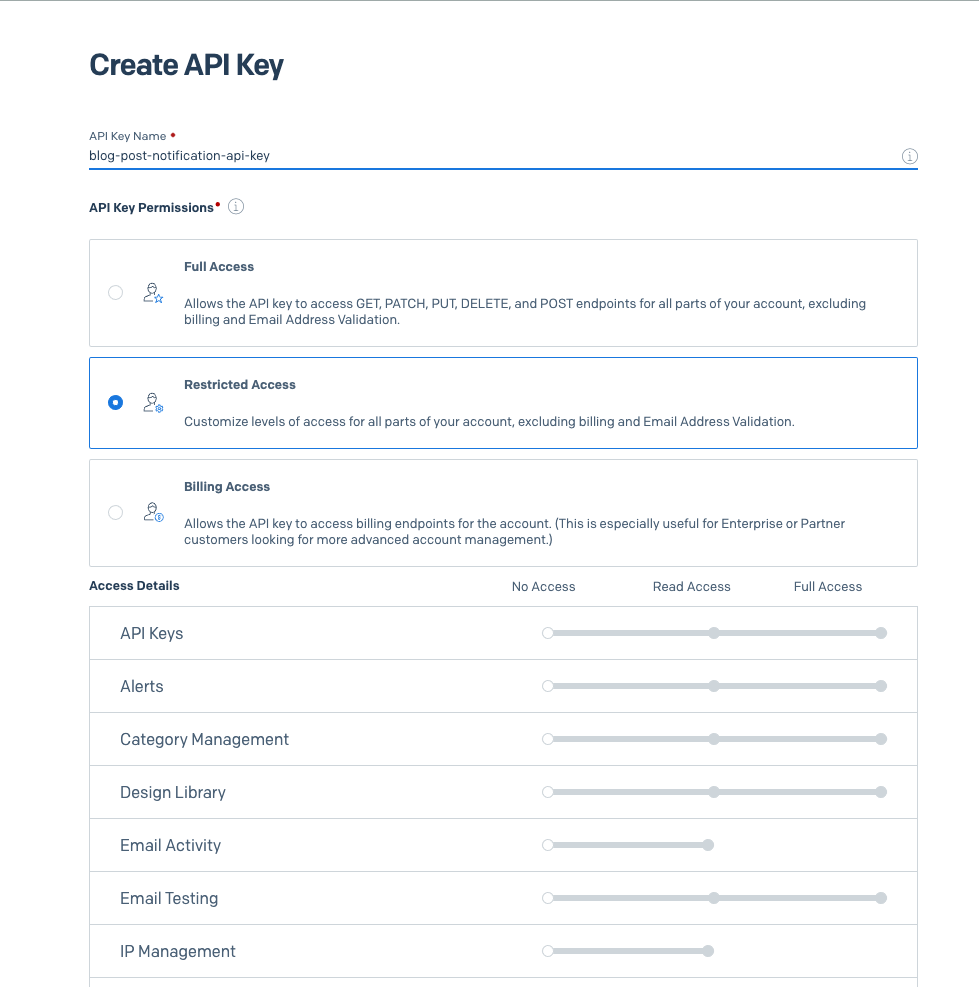
For brevity, in this tutorial, select Full Access. After selecting Full Access, click “Create & View” to finish the key creation process.
The final step is crucial: The key will be displayed one time and one time only.
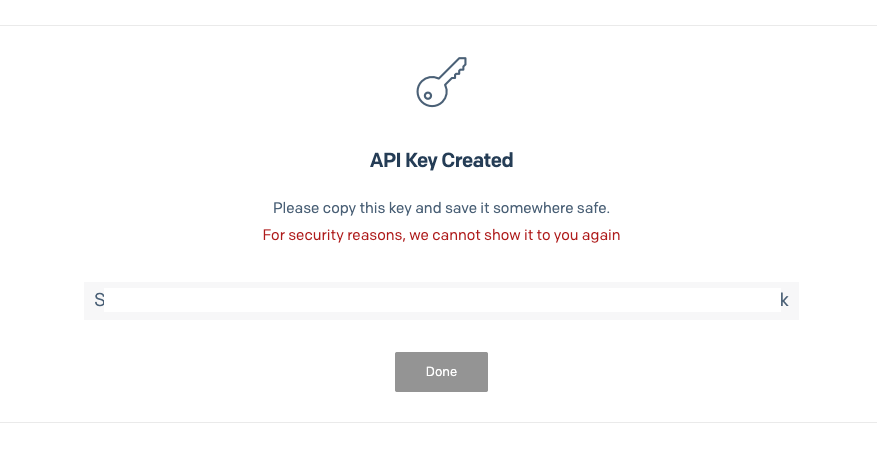
When the key is displayed, click on the key, which copies it to the clipboard. Then, keep it in a safe place, such as a password manager, and click Done.
Sender Email
Every email you send must be sent from a verified email address or domain. To create a sender, click Sender Authentication in the left menu.
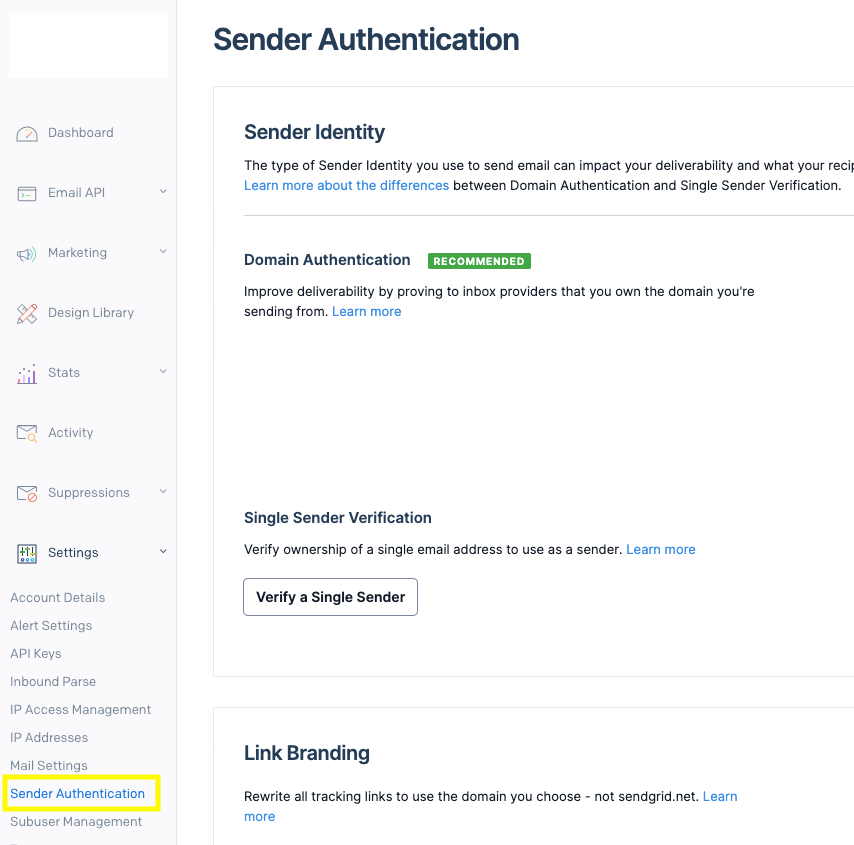
Here you can verify a single address or an entire domain. Verifying the entire domain requires access to DNS settings, so to keep things simple, you will use single address verification.
To achieve this, click Verify a Single Sender on the Sender Authentication page (or Get Started if you don’t have any previously verified email addresses).
You should land on Create a Sender form:
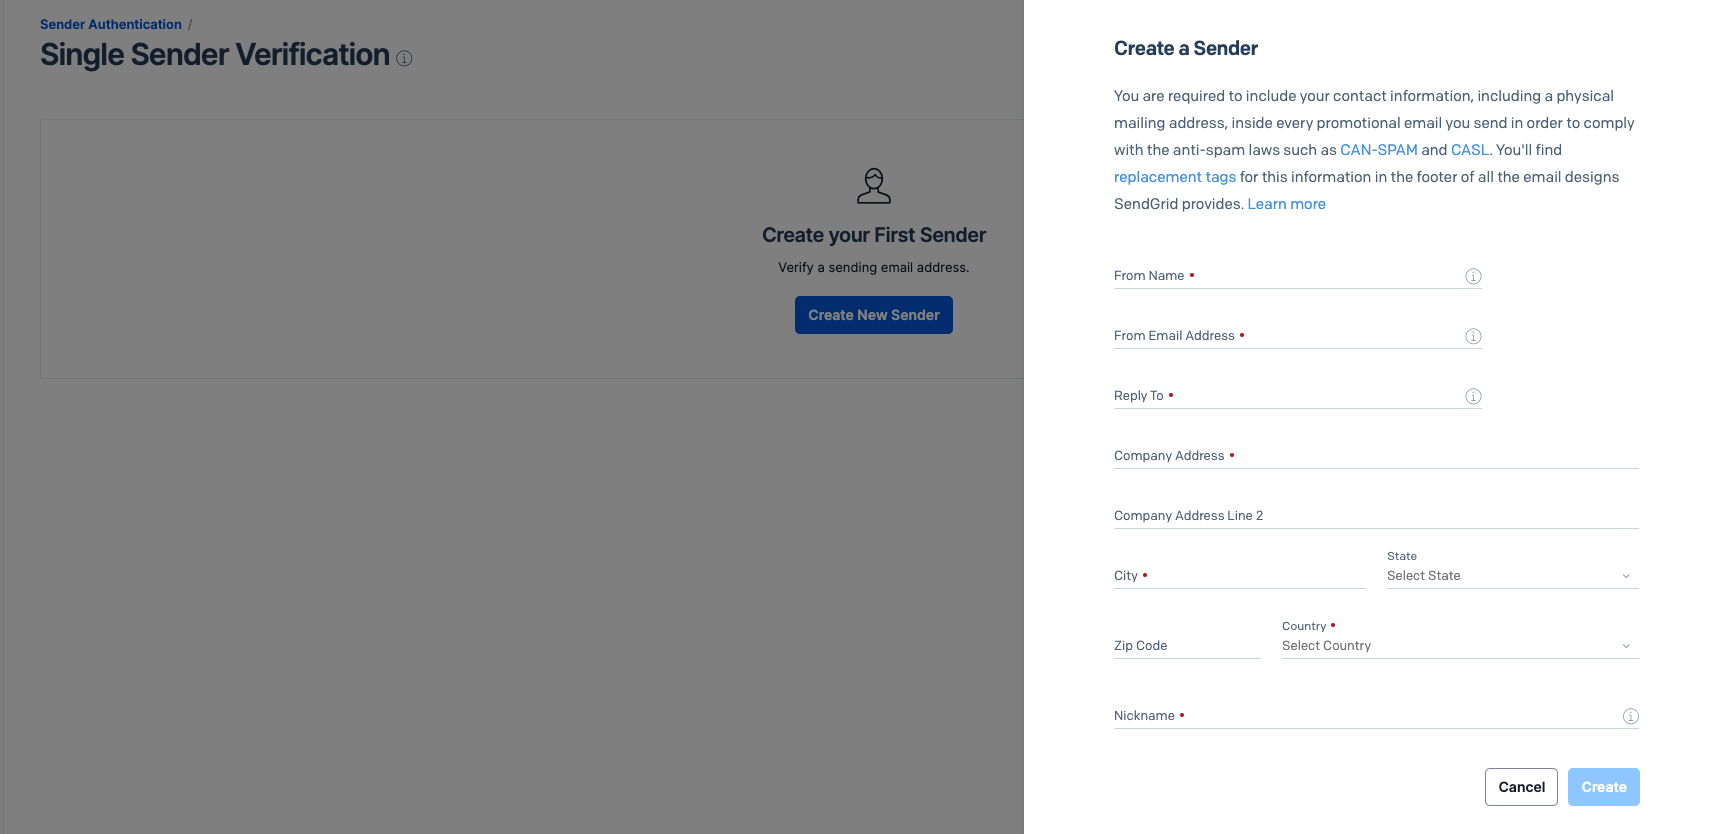
Fill in the details and click Create. The next step is to wait for the verification email:
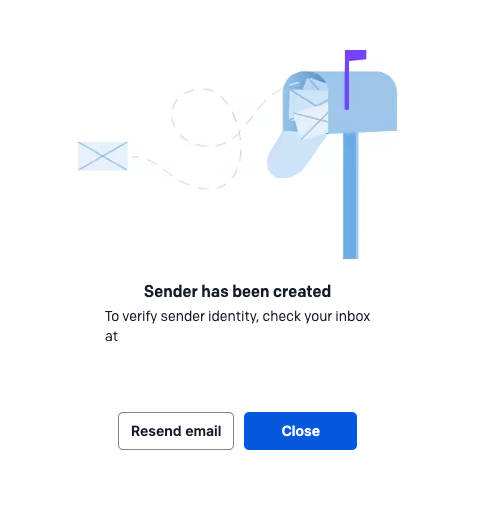
It should momentarily appear in your mailbox. Find the email and click on the Verify Single Sender button in the email:
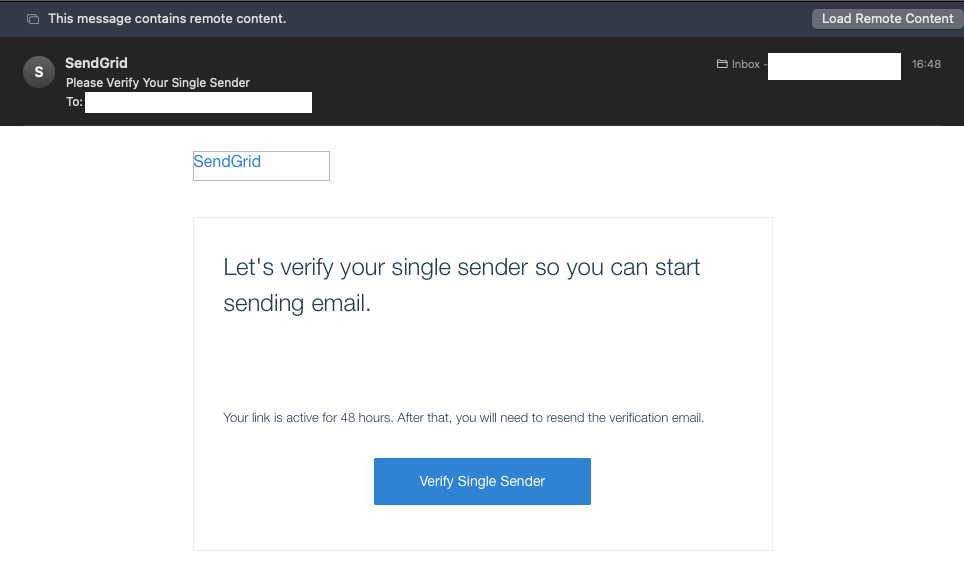
This takes you to the confirmation page:

Now that you have an API key and a valid sender address, you can move on to sending emails.
Send Emails with SendGrid
Now that you have an API key, you’ll create a simple .NET application to test sending emails. (You can find the complete source code on this GitHub repository)
First, open a terminal and run the following commands to create a blank Console application and add the SendGrid NuGet package:
dotnet new console -o ConsoleMailer
cd ConsoleMailer
dotnet add package SendGrid
API keys are sensitive information that you should keep secret, so you should avoid hard coding them or committing them to source control. That’s why you should store the API key in an environment variable or a secure vault service. To keep things simple, you will store the API key in an environment variable.
For macOS and Linux, set the environment variable like this:
export SENDGRID_API_KEY={your key}
If you’re using PowerShell on Windows or another OS, use this command:
$Env:SENDGRID_API_KEY = "{your key}"
If you’re using CMD on Windows, use this command:
set "SENDGRID_API_KEY={your key}"
Replace {your key} with the API key secret you copied earlier.
Open the project in your preferred editor and find the Program.cs file. Update the Program.cs file with the following code:
using SendGrid;
using SendGrid.Helpers.Mail;
var apiKey = Environment.GetEnvironmentVariable("SENDGRID_API_KEY");
var client = new SendGridClient(apiKey);
var from = new EmailAddress("{ Your verified email address }", "{ Sender display name }");
var to = new EmailAddress("{ Recipient email address }", "{ Recipient display name }");
The code block above is going to be shared among the examples used in this article. You’ll need to replace { Your verified email address } with the SendGrid Single Sender email address you created earlier, and { Sender display name } with any name you prefer. The name will be displayed to the recipients. Then replace { Recipient email address} and { Recipient display name} with your desired recipient email address and name.
Then, append the following code block:
var subject = "Testing the API key";
var plainTextContent = "Testing a simple email";
var htmlContent = "<strong>Testing simple email in HTML</strong>";
var msg = MailHelper.CreateSingleEmail(from, to, subject, plainTextContent, htmlContent);
var response = await client.SendEmailAsync(msg);
if (response.IsSuccessStatusCode)
{
    Console.WriteLine("Email has been sent successfully");
}
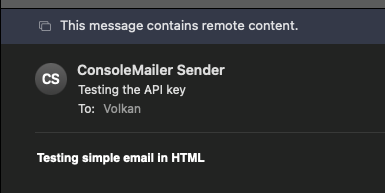
The received email looks like this:
!!!info
The methods from the MailHelper class like CreateSingleEmail all create a SendGridMessage object. You can also create a SendGridMessage object yourself, but the MailHelper class provides some convenient methods to do this for you for common scenario’s.
!!!
Dynamic Email Templates
Even though the data inside the email changes from email to email (such as the recipient name), most emails are based on some template. SendGrid has a powerful template designer that you can use to create dynamic templates, but you can also write the templates using code yourself.
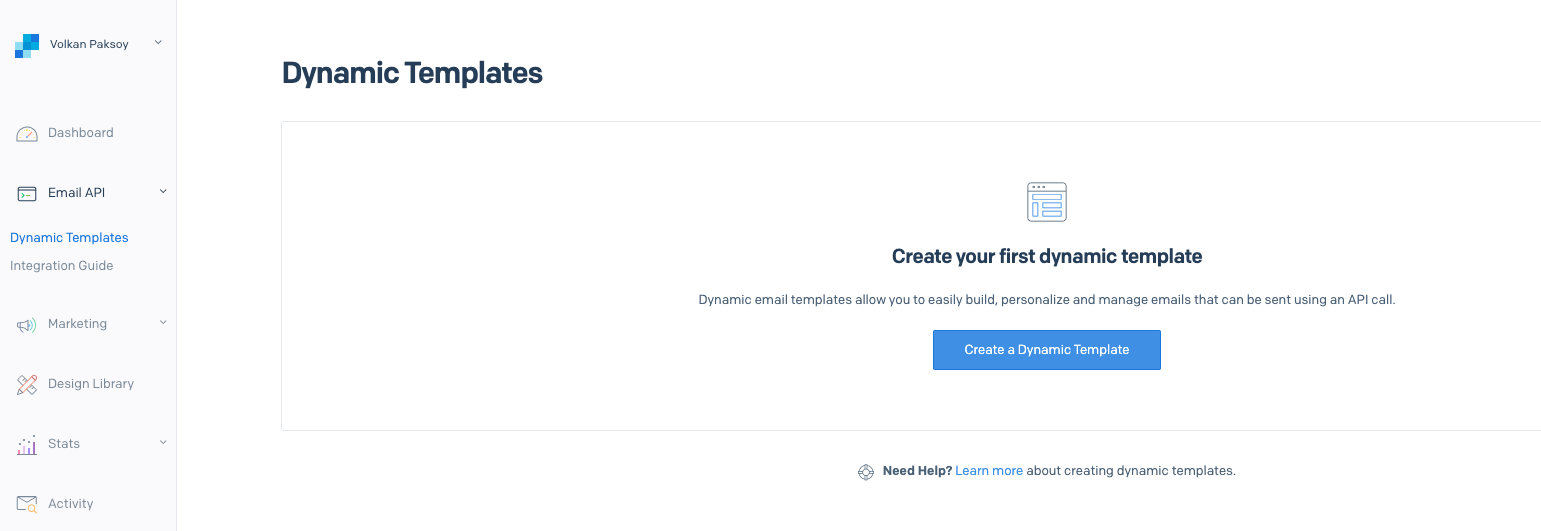
To create your templates, navigate to the SendGrid Dashboard, click Email API and then Dynamic templates on the left menu. In the Dynamic Templates screen, click the “Create a Dynamic” template button.
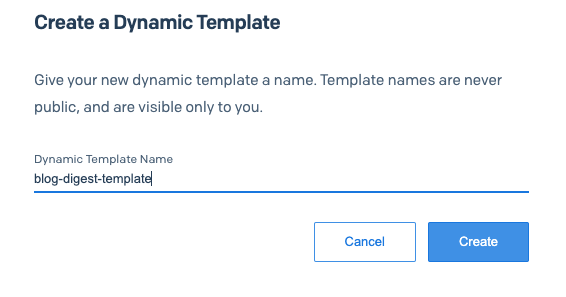
Give the template a name and click Create:
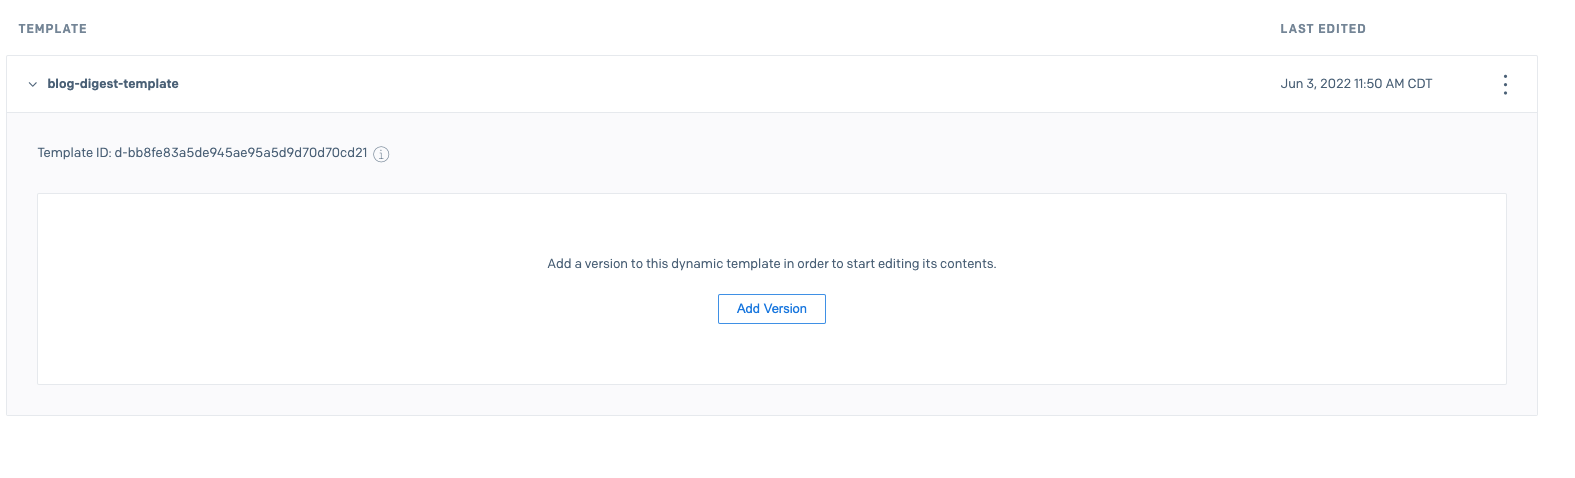
One nice feature about templates is that they are versioned. So you can create a new version without losing the previous version of the template. This way you can easily roll back to an earlier version.
Create your first version by clicking Add Version:
SendGrid has a lot of built-in email templates:
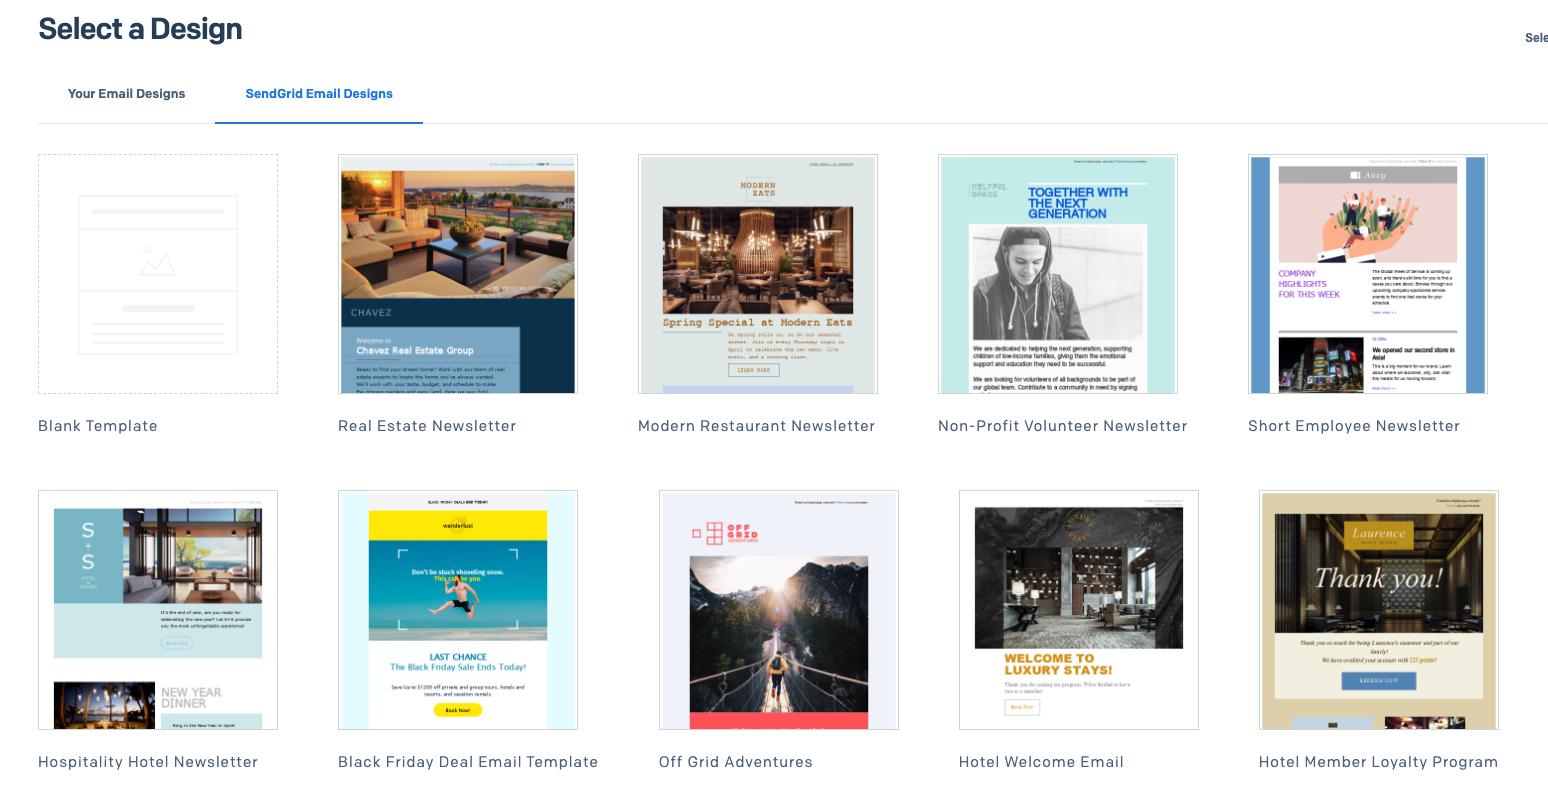
In this example, you’ll create a template from scratch. So, click on Your Email Designs and click Blank Template:
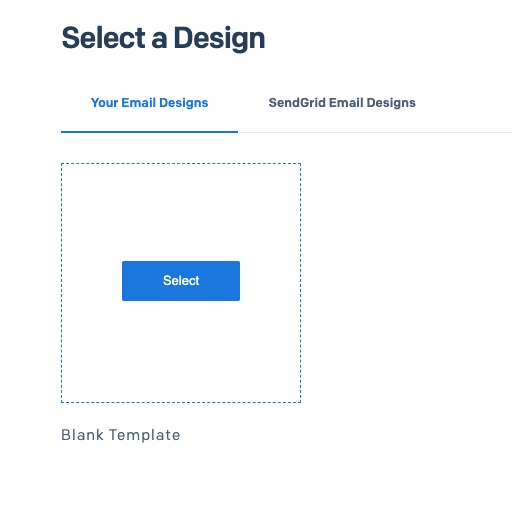
Now you have to select the editor. Here you have two options: Design Editor and Code Editor. If you already have the HTML of an email template, you can simply switch to the code editor and start using that as a starting point.
In this example, you will use the designer, which simplifies designing email templates quite a bit. You can drag and drop the modules into the designer area. You can even test your emails directly in the designer.
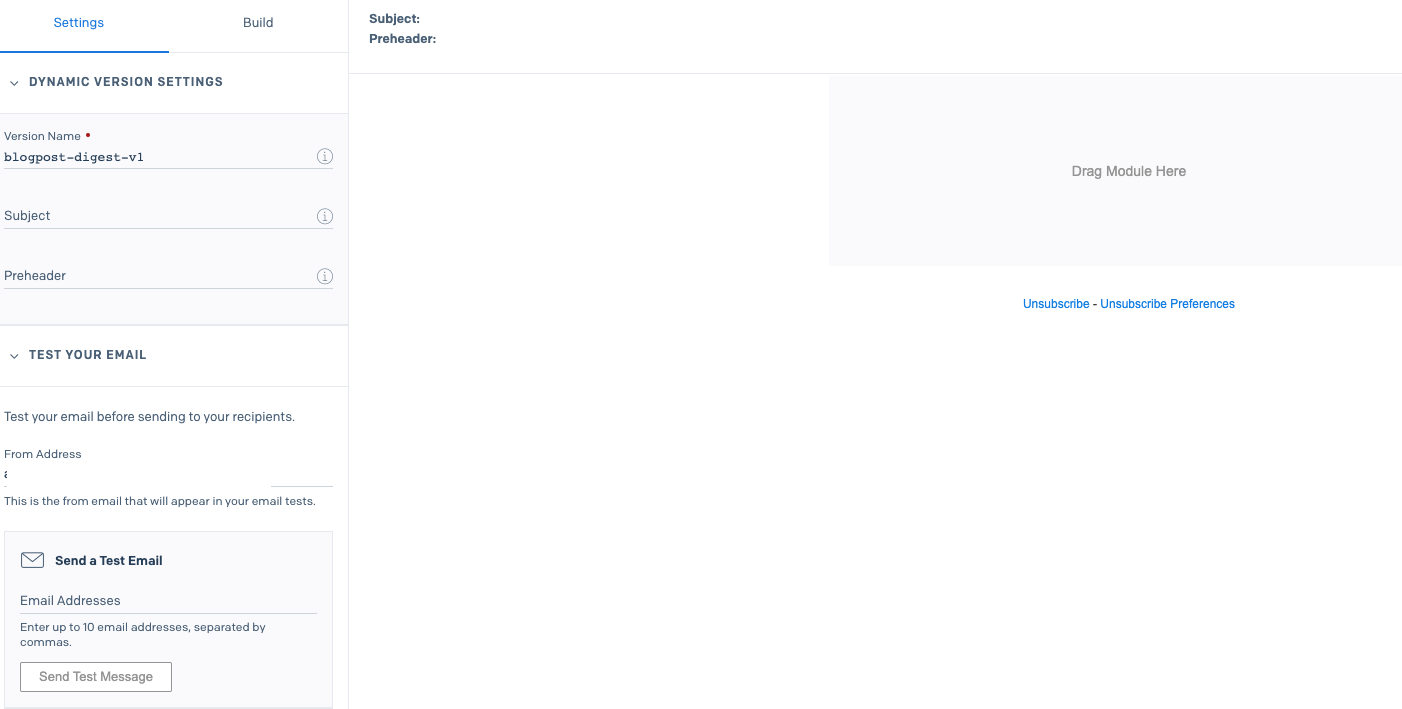
You can also use test data to ensure it looks good while still designing.
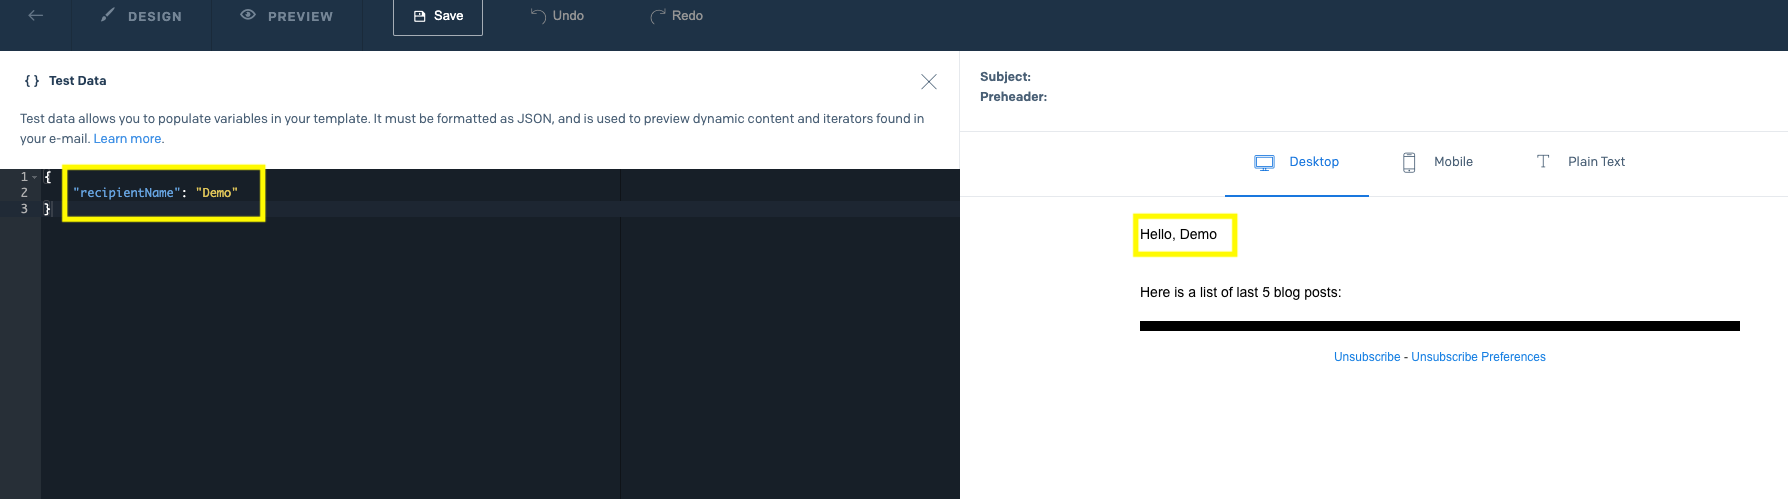
For example, to test this design that uses the recipientName variable as a placeholder, you can click Preview and Show Test Data. Then you can enter your variable value as JSON and see the output.
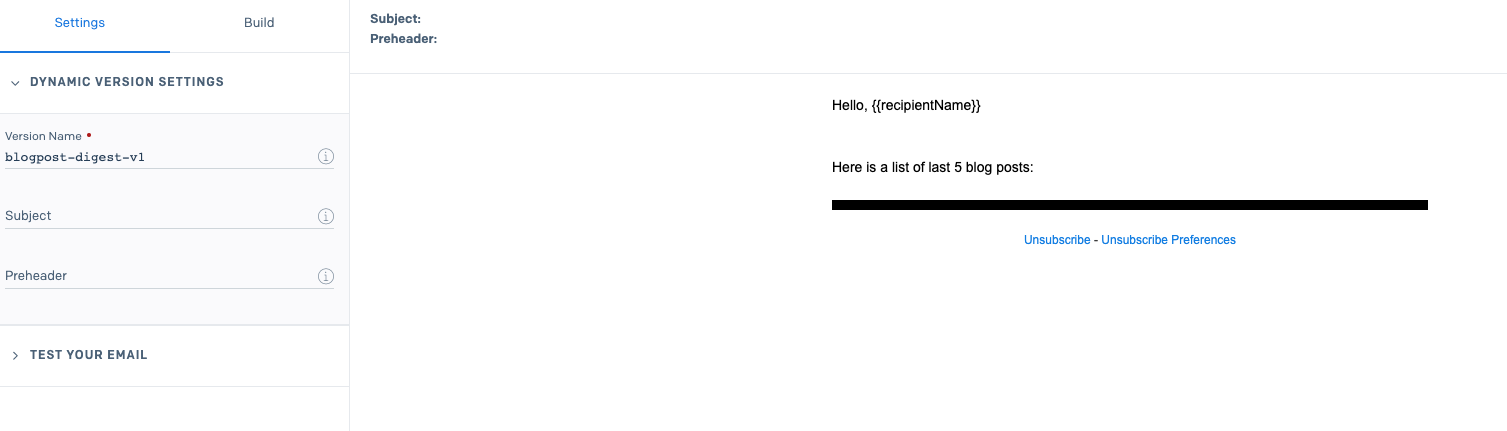
At this point, you can design the email template to your liking by using basic modules such as text, image, HTML code, divider, etc.
The “dynamic” part comes from the ability to use placeholders, which then can be replaced with actual values. To understand how that works, you’ll need to understand how the templating support works with SendGrid. SendGrid emails support the Handlebar templating language (both in transactional templates and marketing campaign designs). Next, you will look into the basics of Handlebars to understand how you can leverage it to create dynamic data-driven templates.
Handlebars Templating Language
Handlebars is a commonly used templating language. It’s simple and quite powerful for creating dynamic templates.
Variable Substitution
Simple variable replacement is widely used in dynamic templates. As shown in the previous section, you can place a variable in your template by using it between opening and closing double-curly braces, such as:
Hello, {{recipientName}}
When you use a template such as this, you’ll need to provide data that includes the value; otherwise, it’s left blank. The nice thing is at least the placeholder is still replaced with an empty string so that it doesn’t appear in the final email, which would look very ugly and amateurish.
In C#, you can leverage normal .NET objects, including anonymous types, to provide dynamic data. For example, to provide data to the template above, you can use an anonymous object like this:
var dynamicEmailData = new
{
    recipientName = "Demo User",
};
To avoid leaving the variables blank, you can also provide default values by using the insert keyword. For example,
Hello,{{ insert recipientName "default=Valued User" }}
If you don’t provide recipientName in the data, the output looks like this:

Variable Replacement in the Subject Field
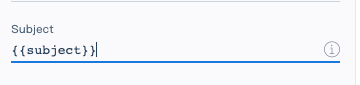
In the designer, you can manually set a subject for your emails, but you can make this field dynamic as well. Variable substitution works for the subject field too. You can set the subject value as a variable using Handlebar notation:
You are not obligated to replace the entire subject line. You can use a variable inside a longer hard-coded string in your template such as:
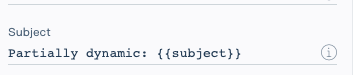
To replace the placeholder with the actual value, in your code, you can just pass the actual value through template data:
var dynamicTemplateData = new
{
    subject = $"To-Do List for {DateTime.UtcNow:MMMM}"
};
HTML Replacement
You can also provide HTML to be injected into the template as well. The key point is that those values need to be marked with three curly braces. For example, if you want to replace the recipient name with HTML, you would use:
Hello, {{{recipientName}}}
And the object we provide would look like this:
var dynamicEmailData = new
{
    recipientName = "<b><i>Demo User</i></b>",
};
The output now looks like this:

!!!warning
Keep in mind that whenever you are using three curly braces, the variable will not be encoded and susceptible to HTML injection. If this variable holds user input, this can be risky!
Make sure to use the HtmlEncoder in .NET to encode user input before passing it into the three curly braces.
!!!
Iterations
Working with arrays happens quite often when creating templated emails. Handlebars has support for handling lists and iterating over them using the each keyword. For example, in the upcoming sample, you will list a number of to-do list items. This can be achieved by the code snippet below:
<table>
  <tr>
    <th>Title</th>
    <th>Due Date</th>
    <th>Status</th>
  </tr>
  {{#each todoItemList}}
    <tr>
      <td>{{this.Title}}</td>
      <td>{{this.DueDate}}</td>
      <td>{{this.Status}}</td>
    </tr>
  {{/each}}
</table>
The items in the array can be addressed by using this keyword, as shown above.
Conditionals
Handlebars Templating Language also has the ability to apply some basic logic using and/or operators, if/else statements, comparison (less than/greater than/equals) and length operator to get the number of characters in a string or the number of items in an array.
Empty strings and zero numbers evaluate to false. For example, the code snippet below shows the username if the variable is a non-empty string:
{{#if this.username}}
  <h1>Hello {{username}}</h1>
{{/if}}
You can also check against the number of array lengths. In the example below, the “You have unread messages in your mailbox!” message will only be shown if the unreadMessages array has elements in it.
{{#greaterThan (length unreadMessages) 0}}
  <p>You have unread messages in your mailbox!</p>
{{else}}
    <p>No unread messages.</p>
{{/greaterThan}}
With the following data, it displays the message:
{
  "unreadMessages": [ "Message 1", "Message 2" ]
}
But in the case of an empty array, it shows “No unread messages.”.
More Handlebars
In addition to the features covered above, you can use conditionals and some basic logic to implement more complicated templates. You can find out more about using Handlebars with Twilio SendGrid here.
Send Email Using Dynamic Email Templates
Set Up Dynamic Email Template
First, go to SendGrid Email templates page.
Then, expand your dynamic template and click on the active version:
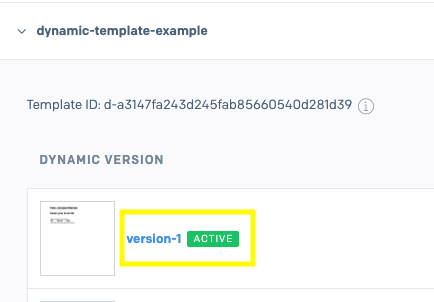
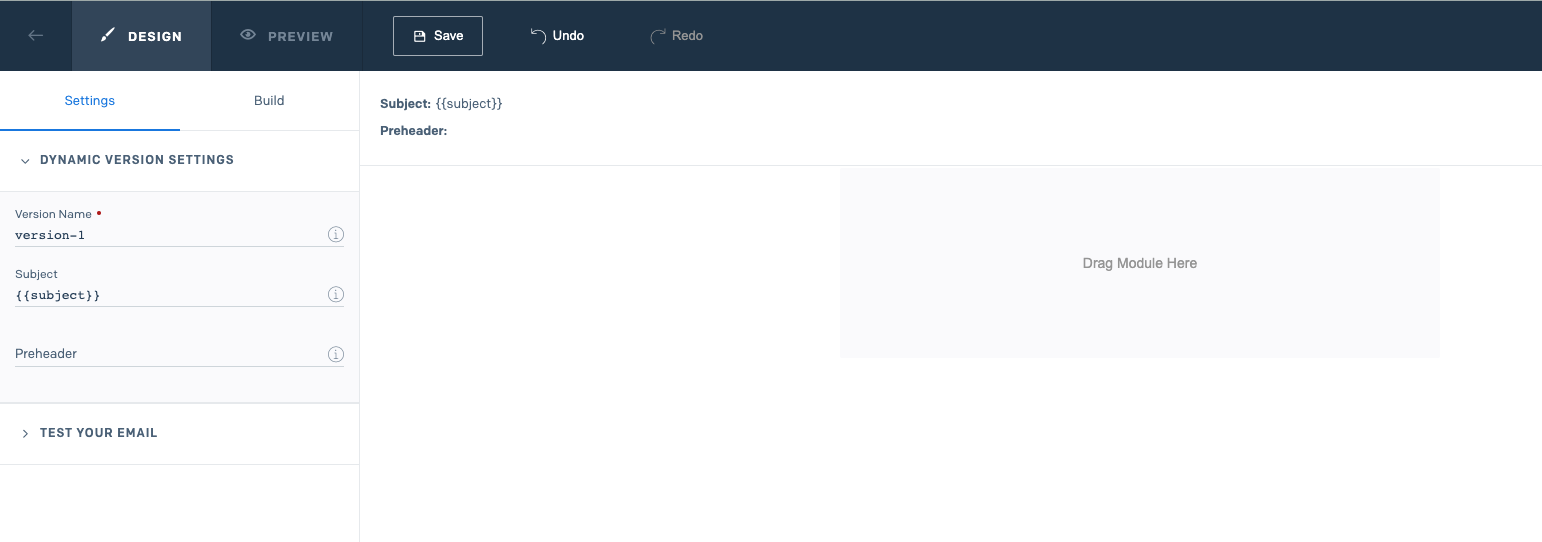
Update the subject field with {{subject}} as you’re going to replace it with dynamic data.
Remove all the elements in the design area. Your design should look like this:
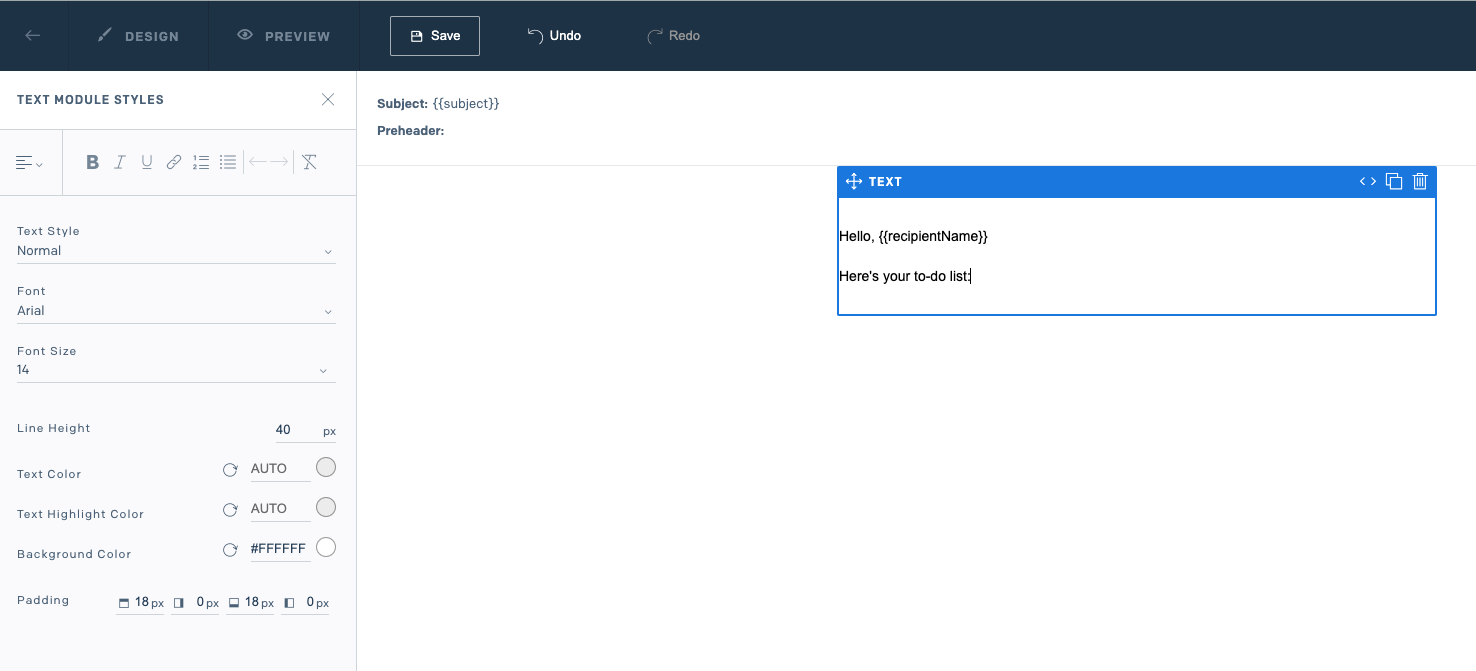
On the left pane, click Build. Drag and drop a Text object into the design area. Replace the placeholder text with
Hello, {{recipientName}}
Here's your to-do list:
In this example, I set the line height to 40. You can play around with text properties to your liking.
Click on anywhere in the design area outside the Text element to see the available elements on the left pane again.
Click Code and drag it under the text element. This automatically opens the HTML editor. Paste the following code in the editor:
<table>
  <tr>
    <th>Title</th>
    <th>Due Date</th>
    <th>Status</th>
  </tr>
  {{#each todoItemList}}
    <tr>
      <td>{{this.title}}</td>
      <td>{{this.dueDate}}</td>
      <td>{{this.status}}</td>
    </tr>
  {{/each}}
</table>
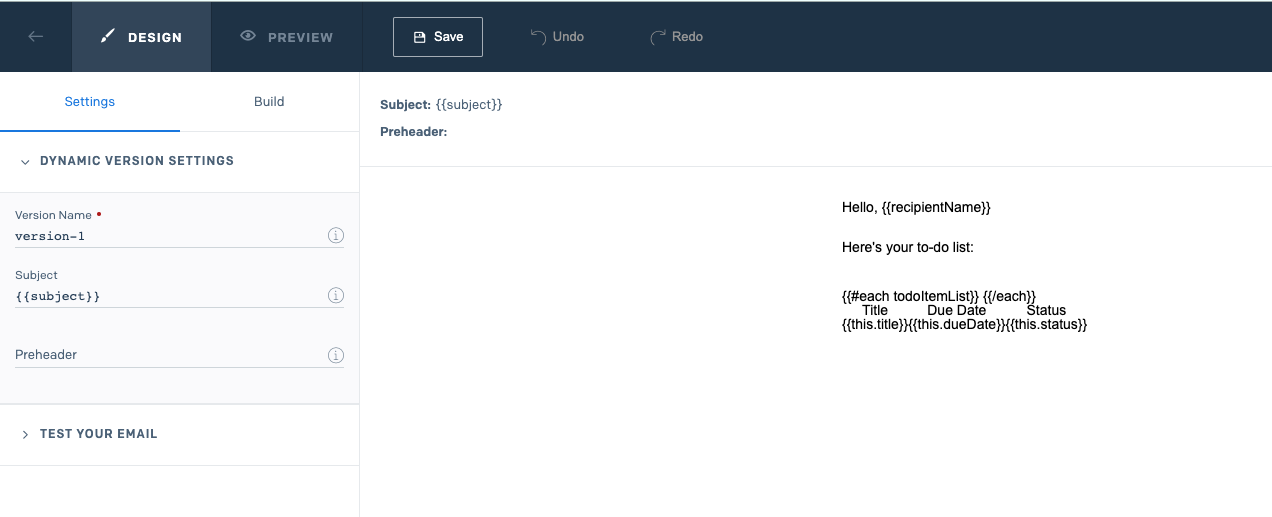
Click Update. Your final version of the template should look like this:
Set Up C# Application
Open the Program.cs file in the ConsoleMailer project you created previously, and replace the previous email sending code with the highlighted Dynamic Email Template code:
csharp hl_lines="9 10 11 12 13 14 15 16 17 18 19 20 21 22"
using SendGrid;
using SendGrid.Helpers.Mail;
var apiKey = Environment.GetEnvironmentVariable("SENDGRID_API_KEY");
var client = new SendGridClient(apiKey);
var from = new EmailAddress("{ Your verified email address }", "{ Sender display name }");
var to = new EmailAddress("{ Recipient email address }", "{ Recipient display name }");
var templateId = "{ Your dynamic template id }";
var dynamicTemplateData = new
{
    subject = $"To-Do List for {DateTime.UtcNow:MMMM}",
    recipientName = "Demo User",
    todoItemList = new[]
    {
        new { title = "Organize invoices", dueDate = "11 June 2022", status = "Completed" },
        new { title = "Prepare taxes", dueDate = "12 June 2022", status = "In progress" },
        new { title = "Submit taxes", dueDate = "25 June 2022", status = "Pending" },
    }
};
var msg = MailHelper.CreateSingleTemplateEmail(from, to, templateId, dynamicTemplateData);
var response = await client.SendEmailAsync(msg);
if (response.IsSuccessStatusCode)
{
    Console.WriteLine("Email has been sent successfully");
}
!!!info
Make sure the name and casing of the variables in your template match the dynamic template data you’re passing in. For example, if your subject variable is {{subject}} and your C# data has a property named Subject, the subject of your email will be empty.
!!!
This code is similar to the previous code with a few differences:
-
You call the
CreateSingleTemplateEmailmethod instead of theCreateSingleEmailmethod -
You provide the data displayed in the final email output, but you don’t render the HTML yourself.
Also, you must provide the unique template ID. You can obtain the ID from the Dynamic Templates page. Expand the details of your template and the Template ID should appear at the top:

Once you’ve obtained the template ID, replace { Your dynamic template id } with it in your code.
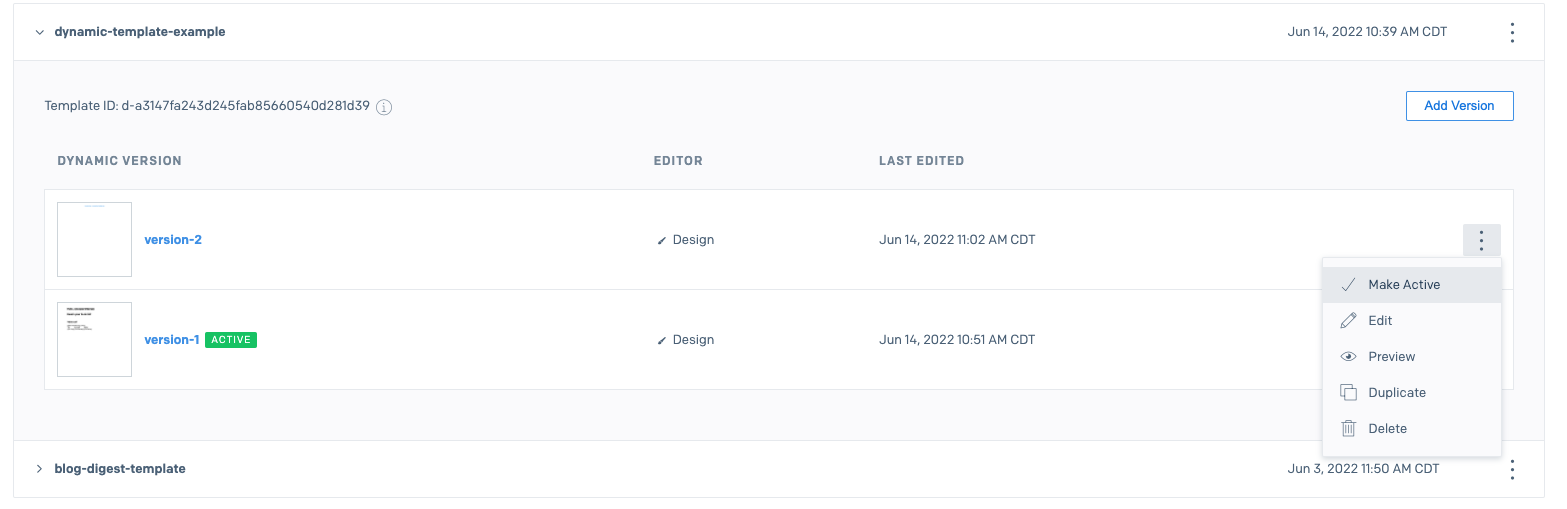
The template ID is shared among all versions, so you don’t have to change your configuration when you create a new version. However, you have to ensure to choose the correct version as active. To make a version active, click on the vertical three dots on the right and click Make Active.
The final email looks like this:
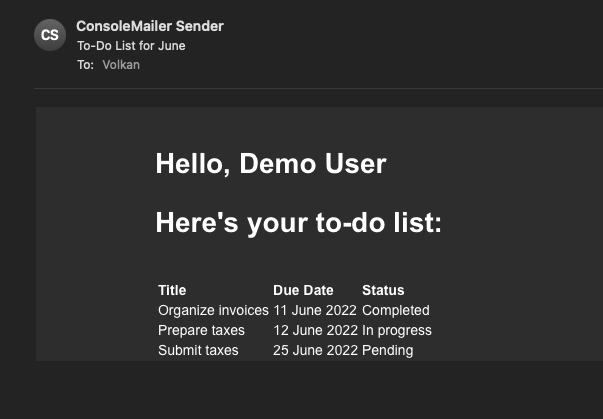
You can see how the todoItemList array is used to render the to-do item list table in a dynamic fashion.
Conclusion
In this post, you looked into the basics of setting up your SendGrid account and the SendGrid .NET library. Then you learned how to use Dynamic Email Templates and how you can use Handlebar templating to create dynamic emails. You can find the source code for the applications in this tutorial on GitHub.
Twilio SendGrid offers a lot more than covered in this article. I’d recommend visiting the official documentation and discovering more features based on your use cases. Here are a couple of articles about sending emails and templating that could help you get the most out of SendGrid and .NET: