Implementing a Custom MCP Server with .NET
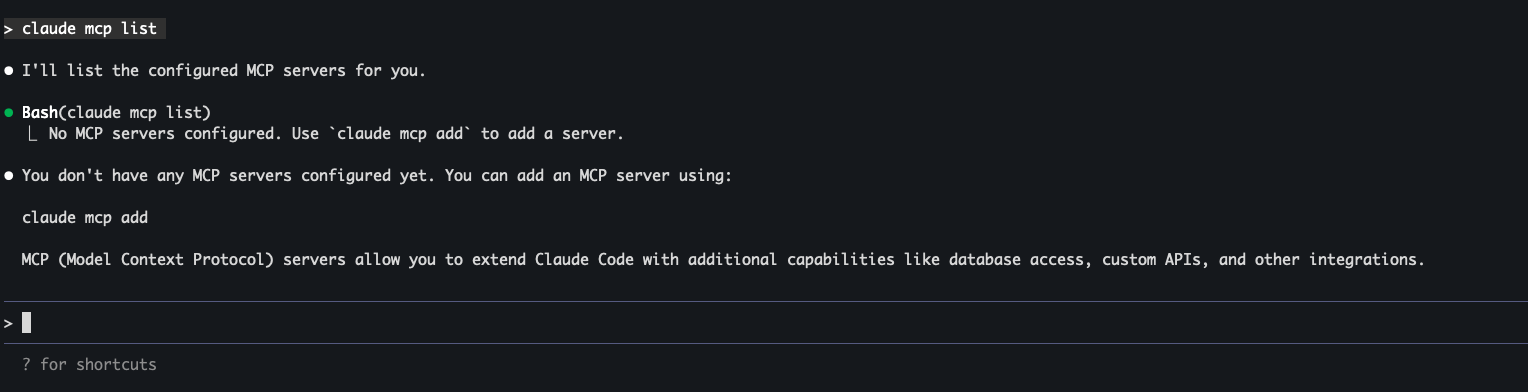
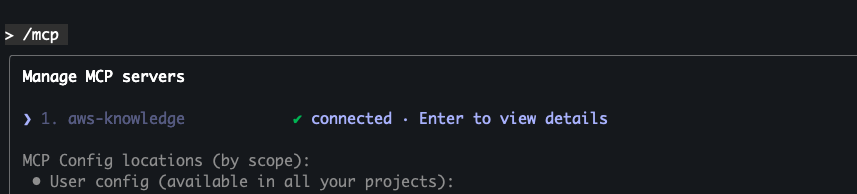
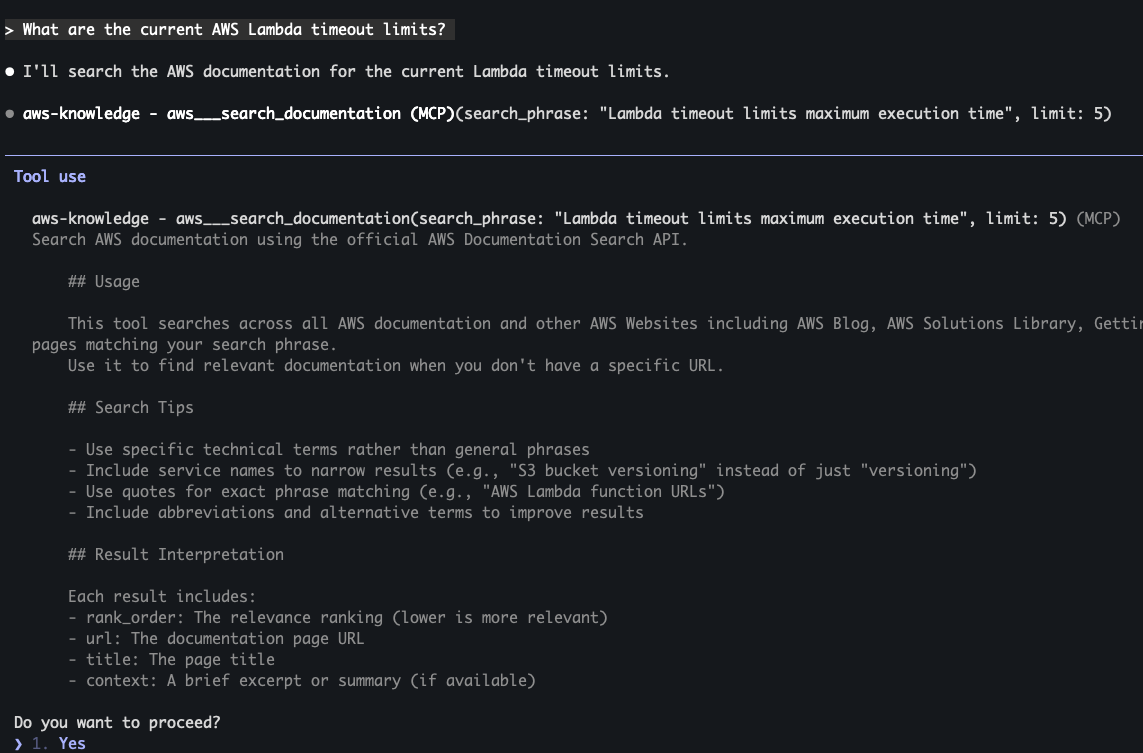
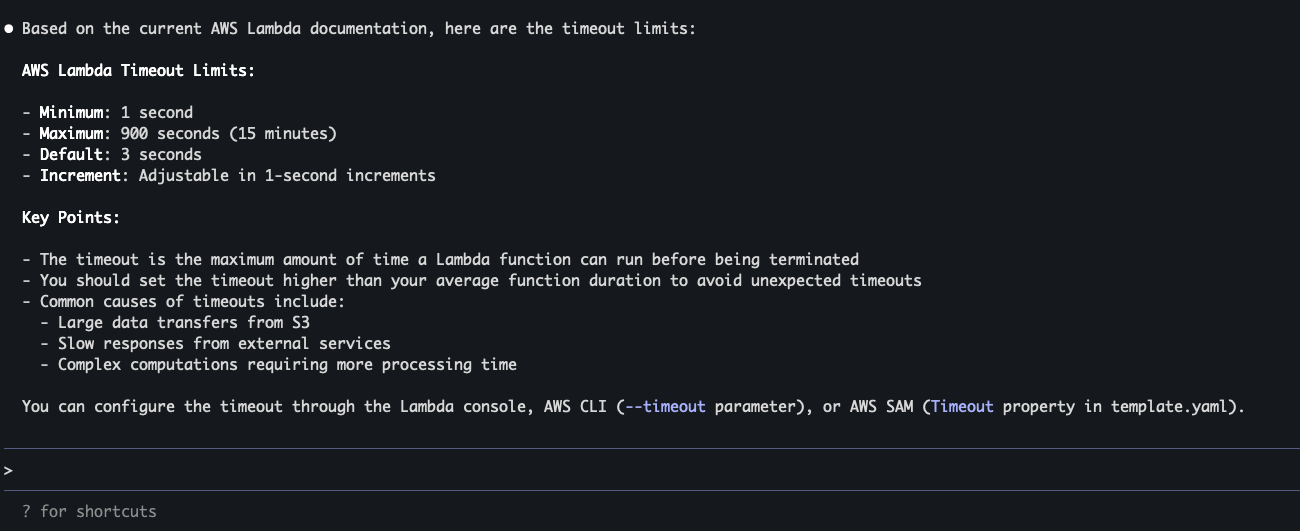
In the previous post, you learned how to use AWS Knowledge MCP Server in Claude Code. That server was hosted remotely by AWS, making it simple to add with just a URL. But what if you need custom functionality specific to your domain or workflow? That’s where building your own MCP server comes in.
In this tutorial, you’ll build a custom Weather MCP Server using .NET 9. More importantly, you’ll implement it with two different transports: stdio (for local processes) and HTTP (for remote services). This demonstrates a key MCP principle: your business logic stays the same regardless of how clients connect to it.
What You’ll Build
A Weather MCP Server that provides:
- Current weather information for any location
- Random temperature generation (mock data for demonstration)
- Two deployment options: local stdio and HTTP endpoint
By the end of this tutorial, you’ll understand:
- How MCP servers are architected
- The difference between business logic and transport layers
- When to use stdio vs HTTP transports
- How to integrate both types into Claude Code
Pre-requisites
Before starting, ensure you have:
Required Software
-
.NET 9 SDK
- Download from dotnet.microsoft.com
- Verify installation:
dotnet --version(should show 9.x.x)
-
IDE or Code Editor
- Visual Studio 2022 (Windows/Mac)
- Visual Studio Code with C# extension
- JetBrains Rider
- Any text editor (vim, nano, etc.)
-
Claude Code
- Already installed from previous tutorials
- Verify with:
claude --version
Understanding MCP Server Architecture
Before diving into code, let’s understand how MCP servers are structured. This architectural understanding will make the implementation much clearer.
The Two-Layer Design
MCP servers follow a clean separation of concerns:
graph TB
    subgraph "MCP Server Architecture"
        A[Business Logic Layer] -->|Uses| B[MCP Protocol Layer]
        B -->|Exposes via| C1[Stdio Transport]
        B -->|Exposes via| C2[HTTP Transport]
        B -->|Exposes via| C3[SSE Transport]
    end

    C1 --> D1[Local Process<br/>Claude Code]
    C2 --> D2[Remote HTTP<br/>Any Client]
    C3 --> D2

    style A fill:#2ECC40
    style B fill:#FF851B
    style C1 fill:#0074D9
    style C2 fill:#0074D9
    style C3 fill:#0074D9
Layer 1: Business Logic
- Your domain-specific code (weather data, database queries, API calls, etc.)
- Independent of how clients connect
- Reusable across different transports
Layer 2: Transport
- Handles communication protocol (stdio, HTTP, SSE)
- Wraps business logic in MCP protocol format
- Manages serialization, requests, and responses
Why This Matters
With this design, you write your weather logic once and expose it through multiple transports. Need to add WebSocket support later? Just add another transport wrapper—no changes to business logic.
This is exactly what you’ll implement: one weather service, two transports.
Project Setup
Now you’re ready to start building!
Create a directory for your project:
mkdir weather-mcp-server
cd weather-mcp-server
Step 1: Create the Solution Structure
Let’s create a .NET solution with three projects:
# Create solution
dotnet new sln -n WeatherMcpServer

# Create shared library for business logic
dotnet new classlib -n WeatherMcp.Core

# Create stdio transport project
dotnet new console -n WeatherMcp.Stdio

# Create HTTP transport project
dotnet new web -n WeatherMcp.Http

# Add projects to solution
dotnet sln add WeatherMcp.Core/WeatherMcp.Core.csproj
dotnet sln add WeatherMcp.Stdio/WeatherMcp.Stdio.csproj
dotnet sln add WeatherMcp.Http/WeatherMcp.Http.csproj

# Add project references
dotnet add WeatherMcp.Stdio reference WeatherMcp.Core
dotnet add WeatherMcp.Http reference WeatherMcp.Core
Your folder structure should now look like this:
weather-mcp-server/
├── WeatherMcpServer.sln
├── WeatherMcp.Core/
│   ├── WeatherMcp.Core.csproj
│   └── Class1.cs
├── WeatherMcp.Stdio/
│   ├── WeatherMcp.Stdio.csproj
│   └── Program.cs
└── WeatherMcp.Http/
    ├── WeatherMcp.Http.csproj
    └── Program.cs
Step 2: Install Required NuGet Packages
You’ll implement the MCP protocol manually using JSON-RPC, giving you full control and understanding. No external MCP packages needed—just .NET built-in JSON serialization.
Step 3: Implement the Core Weather Service
Delete Class1.cs in WeatherMcp.Core and create these files:
WeatherMcp.Core/Models/WeatherData.cs
namespace WeatherMcp.Core.Models;

public record WeatherData(
    string Location,
    double TemperatureCelsius,
    string Condition,
    int Humidity,
    double WindSpeed,
    DateTime Timestamp
)
{
    public double TemperatureFahrenheit => (TemperatureCelsius * 9 / 5) + 32;
}
WeatherMcp.Core/Services/IWeatherService.cs
using WeatherMcp.Core.Models;

namespace WeatherMcp.Core.Services;

public interface IWeatherService
{
    Task<WeatherData> GetCurrentWeatherAsync(string location);
}
WeatherMcp.Core/Services/MockWeatherService.cs
using WeatherMcp.Core.Models;

namespace WeatherMcp.Core.Services;

public class MockWeatherService : IWeatherService
{
    private static readonly string[] Conditions =
    {
        "Sunny", "Partly Cloudy", "Cloudy", "Rainy", "Stormy", "Snowy", "Foggy", "Windy"
    };

    private readonly Random _random = new();

    public Task<WeatherData> GetCurrentWeatherAsync(string location)
    {
        // Generate random but realistic weather data
        var temperature = _random.Next(-10, 40); // -10°C to 40°C
        var condition = Conditions[_random.Next(Conditions.Length)];
        var humidity = _random.Next(30, 100);
        var windSpeed = _random.NextDouble() * 30; // 0-30 km/h

        var weather = new WeatherData(
            Location: location,
            TemperatureCelsius: temperature,
            Condition: condition,
            Humidity: humidity,
            WindSpeed: Math.Round(windSpeed, 1),
            Timestamp: DateTime.UtcNow
        );

        return Task.FromResult(weather);
    }
}
WeatherMcp.Core/Mcp/McpServer.cs
This is the core MCP protocol implementation:
using System.Text.Json;
using System.Text.Json.Serialization;
using WeatherMcp.Core.Services;

namespace WeatherMcp.Core.Mcp;

public class McpServer
{
    private readonly IWeatherService _weatherService;

    public McpServer(IWeatherService weatherService)
    {
        _weatherService = weatherService;
    }

    public async Task<string> HandleRequestAsync(string jsonRequest)
    {
        try
        {
            var request = JsonSerializer.Deserialize<McpRequest>(jsonRequest);

            if (request == null)
                return CreateErrorResponse("Invalid request format");

            return request.Method switch
            {
                "initialize" => await HandleInitializeAsync(request),
                "tools/list" => HandleToolsList(request),
                "tools/call" => await HandleToolCallAsync(request),
                _ => CreateErrorResponse($"Unknown method: {request.Method}")
            };
        }
        catch (Exception ex)
        {
            return CreateErrorResponse($"Error processing request: {ex.Message}");
        }
    }

    private Task<string> HandleInitializeAsync(McpRequest request)
    {
        var response = new
        {
            jsonrpc = "2.0",
            id = request.Id,
            result = new
            {
                protocolVersion = "2024-11-05",
                capabilities = new
                {
                    tools = new { }
                },
                serverInfo = new
                {
                    name = "weather-mcp-server",
                    version = "1.0.0"
                }
            }
        };

        return Task.FromResult(JsonSerializer.Serialize(response));
    }

    private string HandleToolsList(McpRequest request)
    {
        var response = new
        {
            jsonrpc = "2.0",
            id = request.Id,
            result = new
            {
                tools = new[]
                {
                    new
                    {
                        name = "get_current_weather",
                        description = "Get current weather information for a specific location",
                        inputSchema = new
                        {
                            type = "object",
                            properties = new
                            {
                                location = new
                                {
                                    type = "string",
                                    description = "City name or location (e.g., 'London', 'New York', 'Tokyo')"
                                }
                            },
                            required = new[] { "location" }
                        }
                    }
                }
            }
        };

        return JsonSerializer.Serialize(response);
    }

    private async Task<string> HandleToolCallAsync(McpRequest request)
    {
        if (request.Params?.Name != "get_current_weather")
            return CreateErrorResponse("Unknown tool");

        var location = request.Params.Arguments?.GetProperty("location").GetString();

        if (string.IsNullOrEmpty(location))
            return CreateErrorResponse("Location is required");

        var weather = await _weatherService.GetCurrentWeatherAsync(location);

        var response = new
        {
            jsonrpc = "2.0",
            id = request.Id,
            result = new
            {
                content = new[]
                {
                    new
                    {
                        type = "text",
                        text = $@"Current weather in {weather.Location}:
Temperature: {weather.TemperatureCelsius}°C ({weather.TemperatureFahrenheit:F1}°F)
Condition: {weather.Condition}
Humidity: {weather.Humidity}%
Wind Speed: {weather.WindSpeed} km/h
Last Updated: {weather.Timestamp:yyyy-MM-dd HH:mm:ss} UTC"
                    }
                }
            }
        };

        return JsonSerializer.Serialize(response);
    }

    private string CreateErrorResponse(string message)
    {
        var response = new
        {
            jsonrpc = "2.0",
            error = new
            {
                code = -32603,
                message
            }
        };

        return JsonSerializer.Serialize(response);
    }
}

public class McpRequest
{
    [JsonPropertyName("jsonrpc")]
    public string? JsonRpc { get; set; }

    [JsonPropertyName("id")]
    public object? Id { get; set; }

    [JsonPropertyName("method")]
    public string? Method { get; set; }

    [JsonPropertyName("params")]
    public McpParams? Params { get; set; }
}

public class McpParams
{
    [JsonPropertyName("name")]
    public string? Name { get; set; }

    [JsonPropertyName("arguments")]
    public JsonElement? Arguments { get; set; }
}
Understanding the MCP Protocol Implementation
This code is the heart of your MCP server. Let’s break down what each part does:
The Main Handler: HandleRequestAsync
public async Task<string> HandleRequestAsync(string jsonRequest)
This is the entry point for all MCP requests. It:
- Deserializes the incoming JSON-RPC request
-
Routes to the appropriate handler based on the
methodfield - Returns a JSON-RPC response
The MCP protocol uses three core methods:
-
initialize- Handshake when client connects -
tools/list- Client asks “what can you do?” -
tools/call- Client executes a specific tool
HandleInitializeAsync: The Handshake
private Task<string> HandleInitializeAsync(McpRequest request)
When a client first connects, they send an initialize request. Your response tells them:
-
Protocol version:
2024-11-05(current MCP spec version) -
Capabilities: What features you support (in this case, just
tools) - Server info: Your server’s name and version
This is like a handshake - the client learns what your server can do before making any requests.
HandleToolsList: Advertising Your Tools
private string HandleToolsList(McpRequest request)
This is where you advertise your tool to clients. Remember from the AWS MCP post how the AI knew what tool to use? This is where that magic happens!
Each tool advertisement includes:
-
name: The tool identifier (
get_current_weather) - description: What the tool does (this is what the AI reads!)
- inputSchema: JSON Schema defining required parameters
The description is crucial - it’s how the AI decides when to use your tool. Make it clear and specific!
HandleToolCallAsync: Doing the Work
private async Task<string> HandleToolCallAsync(McpRequest request)
When the AI decides to use your tool, this method:
-
Validates the tool name matches (
get_current_weather) - Extracts the location parameter from the request
- Calls your weather service to get the data
- Formats the response according to MCP spec
The response must follow the MCP format:
{
  "jsonrpc": "2.0",
  "id": <request_id>,
  "result": {
    "content": [
      {
        "type": "text",
        "text": "<your formatted response>"
      }
    ]
  }
}
The content array can contain multiple items (text, images, resources, etc.). For simplicity, we’re just returning formatted text.
Error Handling
private string CreateErrorResponse(string message)
When something goes wrong (invalid tool, missing parameter, etc.), you return a JSON-RPC error response with:
-
code:
-32603(Internal error code from JSON-RPC spec) - message: What went wrong
The Request Models
public class McpRequest
public class McpParams
These classes map JSON-RPC requests to C# objects. Key points:
-
JsonPropertyNameattributes map JSON field names to C# properties -
JsonElement?forArgumentsbecause we don’t know the structure ahead of time - Nullable types (
string?,object?) handle optional fields
How It All Flows Together
Here’s a typical conversation:
-
Client connects
→ {"jsonrpc":"2.0","id":1,"method":"initialize","params":{}} ← {"jsonrpc":"2.0","id":1,"result":{"protocolVersion":"2024-11-05",...}} -
Client asks what tools exist
→ {"jsonrpc":"2.0","id":2,"method":"tools/list","params":{}} ← {"jsonrpc":"2.0","id":2,"result":{"tools":[{"name":"get_current_weather",...}]}} -
AI reads tool descriptions and decides to call your tool
→ {"jsonrpc":"2.0","id":3,"method":"tools/call","params":{"name":"get_current_weather","arguments":{"location":"London"}}}
← {"jsonrpc":"2.0","id":3,"result":{"content":[{"type":"text","text":"Current weather in London..."}]}}
This is JSON-RPC over MCP - your transport layer (stdio or HTTP) handles the communication, while this class handles the protocol logic.
The core business logic is now complete! You now have:
- Weather data models
- Mock weather service
- MCP protocol handler
Step 4: Implement Stdio Transport
Now wrap your weather service in a stdio transport. Replace the contents of WeatherMcp.Stdio/Program.cs:
using System.Text;
using WeatherMcp.Core.Mcp;
using WeatherMcp.Core.Services;

// Create weather service and MCP server
var weatherService = new MockWeatherService();
var mcpServer = new McpServer(weatherService);

// Read from stdin, write to stdout (stdio transport)
// IMPORTANT: Use UTF8 without BOM to avoid JSON parsing issues
var utf8NoBom = new UTF8Encoding(false);
using var reader = new StreamReader(Console.OpenStandardInput(), utf8NoBom);
using var writer = new StreamWriter(Console.OpenStandardOutput(), utf8NoBom) { AutoFlush = true };

try
{
    while (true)
    {
        var line = await reader.ReadLineAsync();

        if (line == null)
            break; // EOF reached

        if (string.IsNullOrWhiteSpace(line))
            continue;

        var response = await mcpServer.HandleRequestAsync(line);

        await writer.WriteLineAsync(response);
    }
}
catch (Exception)
{
    // Silently handle errors - stderr logging can interfere with Claude Code
}
Important Notes:
-
UTF-8 without BOM: The
new UTF8Encoding(false)is critical. By default, .NET’s UTF-8 encoding includes a Byte Order Mark (BOM) which breaks JSON parsing. Claude Code expects pure JSON output without any BOM. -
No stderr logging: We removed all
Console.Errorlogging because Claude Code monitors stderr for errors. Any output to stderr can cause connection issues or timeouts. -
Silent error handling: Errors are caught but not logged. In production, you might want to log to a file instead.
Test the Stdio Server
Build and test the stdio server:
# Build the project
dotnet build WeatherMcp.Stdio

# Test it manually
cd WeatherMcp.Stdio/bin/Debug/net9.0

# Run and send a test request
echo '{"jsonrpc":"2.0","id":1,"method":"initialize","params":{}}' | ./WeatherMcp.Stdio
You should see the initialization response!
Step 5: Implement HTTP Transport
Now create an HTTP endpoint. Replace WeatherMcp.Http/Program.cs:
using WeatherMcp.Core.Mcp;
using WeatherMcp.Core.Services;

var builder = WebApplication.CreateBuilder(args);

// Register services
builder.Services.AddSingleton<IWeatherService, MockWeatherService>();
builder.Services.AddSingleton<McpServer>();

// Configure CORS for development
builder.Services.AddCors(options =>
{
    options.AddDefaultPolicy(policy =>
    {
        policy.AllowAnyOrigin()
              .AllowAnyMethod()
              .AllowAnyHeader();
    });
});

var app = builder.Build();

app.UseCors();

// MCP endpoint
app.MapPost("/mcp", async (HttpContext context, McpServer mcpServer) =>
{
    using var reader = new StreamReader(context.Request.Body);
    var requestBody = await reader.ReadToEndAsync();

    var response = await mcpServer.HandleRequestAsync(requestBody);

    context.Response.ContentType = "application/json";
    await context.Response.WriteAsync(response);
});

// Health check endpoint
app.MapGet("/health", () => Results.Ok(new { status = "healthy", service = "weather-mcp-server" }));

// Root endpoint with instructions
app.MapGet("/", () => Results.Ok(new
{
    message = "Weather MCP Server",
    version = "1.0.0",
    endpoints = new
    {
        mcp = "/mcp (POST)",
        health = "/health (GET)"
    },
    example = "POST to /mcp with MCP JSON-RPC requests"
}));

app.Run("http://localhost:3000");
Test the HTTP Server
# Build and run
cd WeatherMcp.Http
dotnet run
In another terminal, test it:
# Test health endpoint
curl http://localhost:3000/health

# Test MCP initialization
curl -X POST http://localhost:3000/mcp \
  -H "Content-Type: application/json" \
  -d '{"jsonrpc":"2.0","id":1,"method":"initialize","params":{}}'

# Test weather tool
curl -X POST http://localhost:3000/mcp \
  -H "Content-Type: application/json" \
  -d '{"jsonrpc":"2.0","id":2,"method":"tools/call","params":{"name":"get_current_weather","arguments":{"location":"London"}}}'
Once you’ve ensured both transports are working, move on to the next step.
Step 6: Add Stdio Server to Claude Code
Now integrate the stdio version with Claude Code.
Build a Release Version
cd weather-mcp-server
dotnet publish WeatherMcp.Stdio -c Release -o ./publish/stdio
This creates a .dll file that you’ll run using the dotnet command.
Why .dll instead of standalone executable?
By default, dotnet publish creates a framework-dependent deployment (.dll file) that requires the .NET runtime. This is the standard approach most .NET developers are familiar with. It’s smaller, faster to publish, and leverages the .NET SDK already installed on your machine.
Add to Claude Code
Since .NET publish creates a .dll (not a standalone executable), you need to configure Claude Code to run it with the dotnet command.
Option 1: Using Claude Code CLI
Unfortunately, claude mcp add doesn’t support complex command structures like dotnet <dll>, so you’ll need to configure it manually.
Option 2: Manual Configuration (Recommended)
Edit your user-scoped config file:
nano ~/.claude.json
Add the weather-stdio server to the mcpServers section:
{
  "mcpServers": {
    "aws-knowledge": {
      "type": "http",
      "url": "https://knowledge-mcp.global.api.aws"
    },
    "weather-stdio": {
      "type": "stdio",
      "command": "dotnet",
      "args": ["/absolute/path/to/weather-mcp-server/publish/stdio/WeatherMcp.Stdio.dll"],
      "env": {}
    }
  }
}
Important: Replace /absolute/path/to/ with your actual path. To get it:
cd weather-mcp-server/publish/stdio
pwd
For example, it might look like:
"weather-stdio": {
  "type": "stdio",
  "command": "dotnet",
  "args": ["/Users/yourname/weather-mcp-server/publish/stdio/WeatherMcp.Stdio.dll"],
  "env": {}
}
Save and exit (Ctrl+X, then Y, then Enter in nano).
Verify It Works
# Check MCP servers
claude mcp list

# Should show: weather-stdio - ✓ Connected
Start Claude Code and ask:
What's the weather in Sydney?
Claude Code should use your custom weather MCP server!
Step 7: Add HTTP Server to Claude Code
Now add the HTTP version. Since both stdio and HTTP servers provide the same tool (get_current_weather), we’ll temporarily remove the stdio server to clearly test the HTTP version.
Remove Stdio Server
Edit ~/.claude.json and comment out or remove the weather-stdio entry:
nano ~/.claude.json
Remove or comment out the weather-stdio section so it looks like this:
{
  "mcpServers": {
    "aws-knowledge": {
      "type": "http",
      "url": "https://knowledge-mcp.global.api.aws"
    }
  }
}
Save and exit (Ctrl+X, then Y, then Enter).
Verify it’s removed:
claude mcp list
You should only see aws-knowledge now.
Start the HTTP Server
In one terminal:
cd WeatherMcp.Http
dotnet run
This runs on http://localhost:3000.
Add to Claude Code
In another terminal:
claude mcp add --transport http weather-http --scope user http://localhost:3000/mcp
The --scope user flag makes the HTTP server available globally, just like the stdio version.
Alternative: Manual Configuration
If configuring manually, edit ~/.claude.json:
{
  "mcpServers": {
    "weather-stdio": {
      "type": "stdio",
      "command": "dotnet",
      "args": ["/absolute/path/to/WeatherMcp.Stdio.dll"],
      "env": {}
    },
    "weather-http": {
      "type": "http",
      "url": "http://localhost:3000/mcp"
    }
  }
}
Verify Both Work
claude mcp list

# Should show:
# weather-stdio - ✓ Connected
# weather-http - ✓ Connected
Now you have the same weather service exposed through two different transports!
When to Use Which Transport
Now that you’ve built both, when should you use each?
Use Stdio Transport When:
✅ Local development and testing
- Fast iteration, no network overhead
- Easy debugging with stderr logs
- Direct process communication
✅ Personal tools and scripts
- No need for remote access
- Simpler deployment (single executable)
- Lower resource usage
✅ Security-sensitive operations
- Data never leaves your machine
- No network exposure
- Direct file system access
Example Use Cases:
- Local file system MCP server
- Database query tools
- Personal automation scripts
- Development utilities
Use HTTP Transport When:
✅ Team collaboration
- Multiple developers share one server
- Centralized data source
- Consistent results across team
✅ Remote services
- MCP server on different machine
- Cloud-hosted services
- Containerized deployments
✅ Third-party integrations
- Public APIs need HTTP
- Integration with existing web services
- Cross-platform compatibility
✅ Scalability requirements
- Load balancing
- Multiple instances
- High availability
Example Use Cases:
- Shared company knowledge base
- Cloud-based data services
- External API wrappers
- Production services
Comparison Table
| Feature | Stdio | HTTP |
|---|---|---|
| Setup Complexity | Simple | Moderate |
| Network Required | No | Yes |
| Remote Access | No | Yes |
| Performance | Fastest | Network latency |
| Security | Local only | Authentication needed |
| Scalability | One instance | Load balanceable |
| Debugging | Direct logs | HTTP tools/logging |
| Best For | Local tools | Shared services |
Conclusion
Congratulations! You’ve built a complete custom MCP server from scratch using .NET 9. More importantly, you’ve learned the fundamental architectural principle of MCP: separation of business logic from transport.
If you didn’t follow along, you can download the source code of the final version here (the project is in the weather-mcp-server folder)
What You’ve Accomplished
- Built a reusable weather service - Core business logic that’s transport-agnostic
- Implemented stdio transport - For fast local development and personal tools
- Implemented HTTP transport - For remote access and team collaboration
- Integrated with Claude Code - Made your custom tools accessible to AI
- Understood when to use each - Made informed architecture decisions
Key Takeaways
- MCP is transport-agnostic - Write once, deploy many ways
- Stdio is fast and simple - Perfect for local tools
- HTTP enables sharing - Ideal for team services
- Protocol is straightforward - JSON-RPC makes it easy to implement
- Custom servers unlock potential - AI can access your unique data and services
Next Steps
Now that you understand the fundamentals, consider:
- Add real data sources - Replace mock weather with actual APIs
- Implement authentication - Secure your HTTP server
- Add more tools - Forecast, historical data, alerts
- Deploy to production - Docker, Kubernetes, cloud platforms
- Build domain-specific servers - Database tools, CI/CD integrations, business logic
The MCP ecosystem is growing rapidly. By understanding how to build custom servers, you can create AI-accessible tools tailored to your specific needs.
Resources
-
Demo source code - Source code for the demo application (zip, project in the
weather-mcp-serverfolder) - Model Context Protocol Specification - Official MCP protocol specification
- MCP TypeScript SDK - Reference implementation
- Claude Code MCP Documentation - Integration guide
- .NET 9 Documentation - Official .NET documentation
- JSON-RPC 2.0 Specification - Understanding the underlying protocol
- ASP.NET Core Minimal APIs - Building HTTP endpoints
- MCP Community Examples - More MCP server examples